Chef Graziella
Farinata Genovese
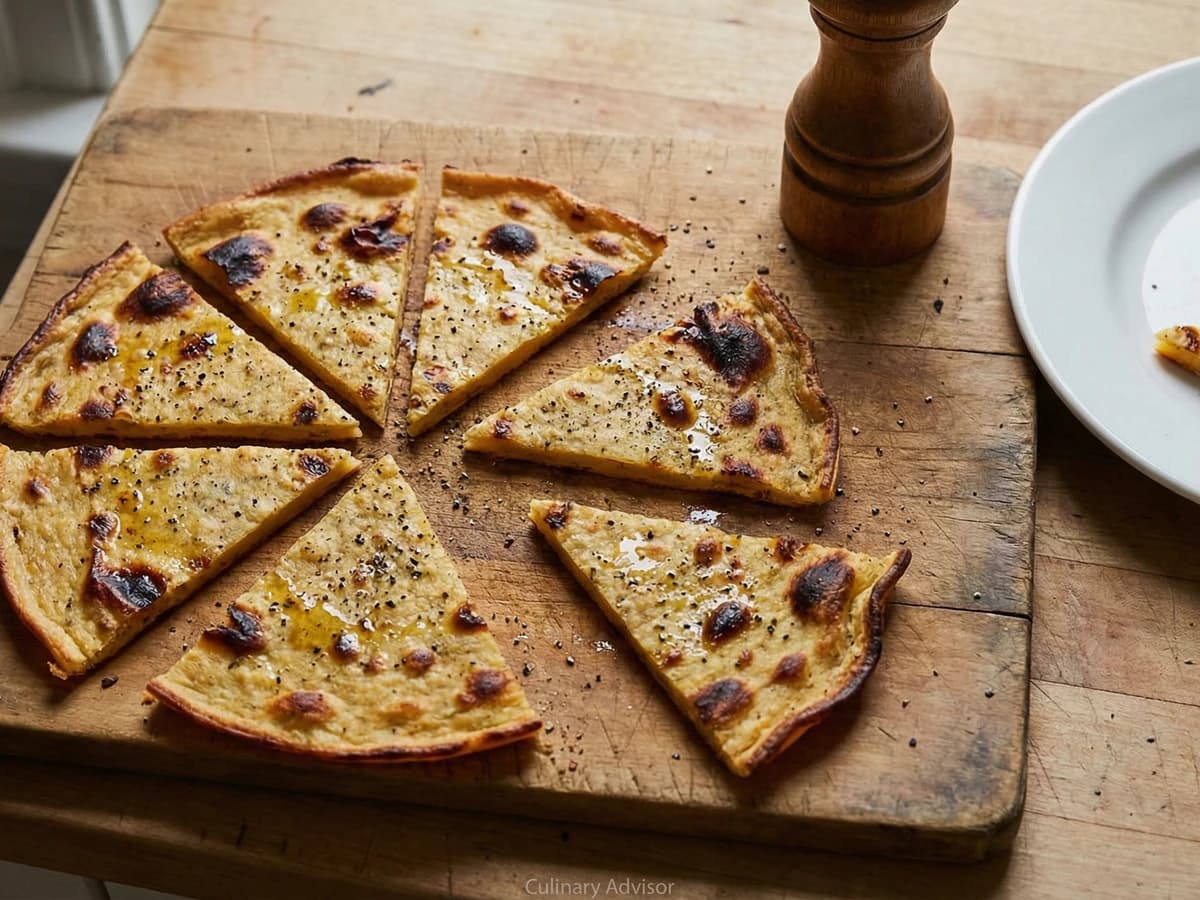
Genoa's ancient chickpea flatbread, golden and blistered from a fierce oven, crisp at the edges and creamy within. Four ingredients. No room to hide.
A cooking platform built around craft, culture, and the stories behind what we eat.
Created by
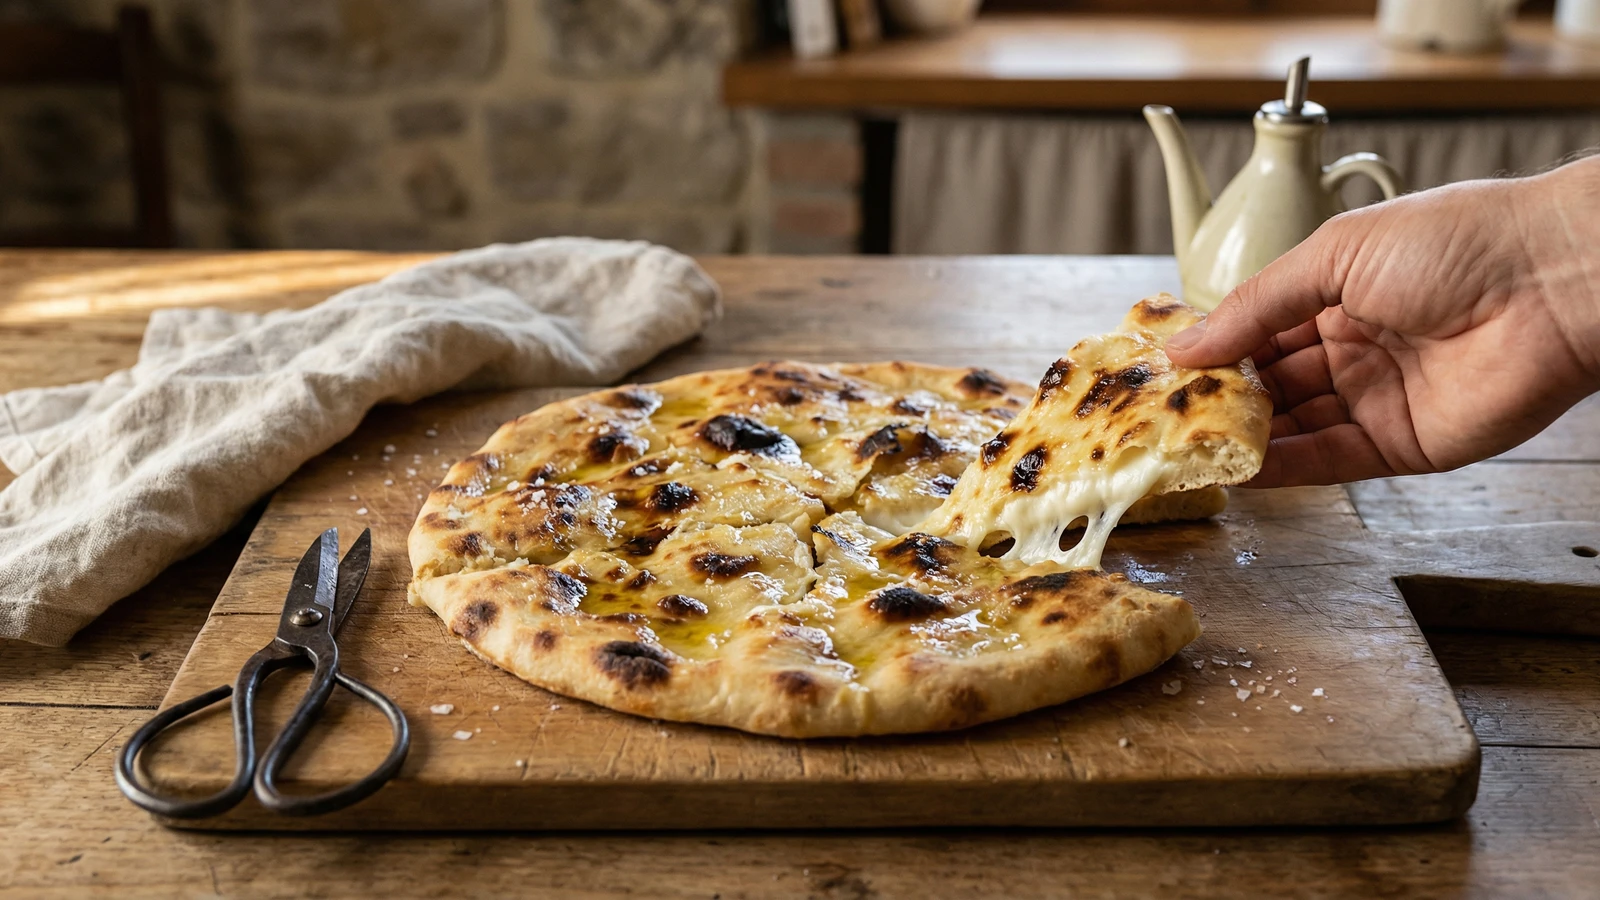
The cheese-filled flatbread of Recco, where two sheets of dough stretched thin as parchment encase rivers of molten stracchino. This is not focaccia as you know it. This is something older and more demanding.
Forget what you know about focaccia. This is not that puffy, dimpled bread you find in Genoa. Focaccia di Recco has no yeast, no rise, no soft crumb. It is two sheets of dough stretched so thin you can read a newspaper through them, with stracchino cheese melting between. When it comes from the oven, the top blistered and charred in spots, the cheese flowing like lava, you have perhaps three minutes to eat it. After that, the magic fades.
The women of Recco have made this for generations, stretching dough across their forearms, draping it into copper pans, working quickly because the dough waits for no one. It demands confidence. You cannot be timid with this dough. You must pull it, stretch it, trust that it will not tear. And if it tears, you patch it and continue. The imperfections are part of the honesty.
Stracchino is essential. Do not substitute mozzarella, ricotta, or anything else that comes to mind. Stracchino has a specific texture: creamy, spreadable, slightly tangy. It melts into something between cheese and cream. This is what makes the dish. Without proper stracchino, you are making something else entirely.
Focaccia di Recco dates to at least the 12th century, when the residents of this Ligurian fishing town fled to the hills during Saracen raids, surviving on unleavened bread filled with fresh cheese. The dish earned IGP protection in 2015, legally defining its ingredients and the specific territory where it may bear the name.
Quantity
300g
tipo 00 if available
Quantity
150ml
Quantity
3 tablespoons, plus more for pan and drizzling
Quantity
1 teaspoon
Quantity
400g
at room temperature
Quantity
for finishing
| Ingredient | Quantity |
|---|---|
| all-purpose flourtipo 00 if available | 300g |
| warm water | 150ml |
| extra virgin olive oil | 3 tablespoons, plus more for pan and drizzling |
| fine sea salt | 1 teaspoon |
| stracchino cheeseat room temperature | 400g |
| flaky sea salt | for finishing |
Mound the flour on a clean work surface and create a well in the center. Add the warm water, olive oil, and salt to the well. Using a fork, gradually incorporate the flour from the inner walls of the well into the liquid. When the mixture becomes too thick for the fork, use your hands. Knead until you have a smooth, elastic dough that does not stick to your hands, about 8 minutes. The dough should feel like your earlobe when pressed: soft, pliable, yielding.
Divide the dough into two equal pieces. Shape each into a smooth ball, coat lightly with olive oil, and cover with plastic wrap or a damp cloth. Let rest at room temperature for at least 30 minutes. This relaxes the gluten and makes stretching possible. Skip this rest and the dough will fight you.
Position a rack in the upper third of your oven and preheat to 260°C (500°F), or as high as your oven will go. If you have a pizza stone or steel, place it on the rack now. Oil a 30cm round baking pan or rimmed sheet pan generously with olive oil. Have more oil within reach.
Work on a lightly floured surface. Take one ball of dough and begin pressing it outward with your fingertips. When it reaches the size of a small plate, drape it over your knuckles and begin stretching from the center outward, rotating as you work. Let gravity help. The dough should become nearly translucent. You should see the shadow of your hands through it. Drape this first sheet into the oiled pan, letting the excess hang over the edges. Patch any tears by pressing the dough together.
Tear the stracchino into rough pieces about the size of walnuts and distribute them evenly across the dough, leaving a 2cm border. Do not spread the cheese into a solid layer. The gaps allow steam to escape and create the characteristic bubbled surface. The cheese should be at room temperature, soft enough to tear easily.
Stretch the second ball of dough exactly as you did the first. Drape it over the cheese-covered bottom layer. Working quickly around the edges, pinch the two layers together and tear away the excess dough. The seal must be complete or the cheese will escape. Drizzle the surface generously with olive oil. Using your fingertips, press down in several places to create dimples and ensure the two layers of dough connect through the gaps in the cheese.
Place the pan in the oven immediately. Bake until the top is dramatically blistered and charred in spots, the surface golden where it is not blackened, 6 to 8 minutes. The cheese inside will be completely molten. Watch carefully in the final minutes. The difference between perfect and burnt is measured in seconds at this temperature.
Remove from the oven, sprinkle with flaky salt, and cut into rough squares or wedges with scissors or a sharp knife. Serve within minutes. The cheese begins to solidify as it cools, the crust loses its shatter. This is not a dish that waits for latecomers. Call everyone to the table before you take it from the oven.
1 serving (about 145g)
Culinary guides, cultural storytelling, and the editorial depth that makes cooking meaningful.
Discover Culinary ExplorerChef Graziella
Genoa's ancient chickpea flatbread, golden and blistered from a fierce oven, crisp at the edges and creamy within. Four ingredients. No room to hide.

Chef Graziella
Hollowed zucchini filled with their own flesh, bound with egg and Parmigiano, perfumed with Liguria's beloved marjoram. Garden frugality transformed into something refined.

Chef Juliette
Tiny éperlans, lightly floured and fried until their tails stand crisp, arrive in a generous heap on a napkin with fried parsley and grooved lemon, a weeknight lesson in heat and restraint.

Chef Juliette
Brandade de Morue turns salt cod, warm olive oil, and milk into a pale, silky emulsion: keep everything warm and add the oil slowly, then crown the generous dome with butter-fried bread.