
Chef Juliette
Flan aux Carottes
A pale short-paste shell holds silken, lightly sweet carrot purée beneath neat glazed half-discs, their butter syrup catching the light: a classical tart poised between vegetable course and sweet.
A cooking platform built around craft, culture, and the stories behind what we eat.
Created by Chef Juliette
Based on No. 2395, Flawn Crust, from Le Guide Culinaire (1907) by Auguste Escoffier
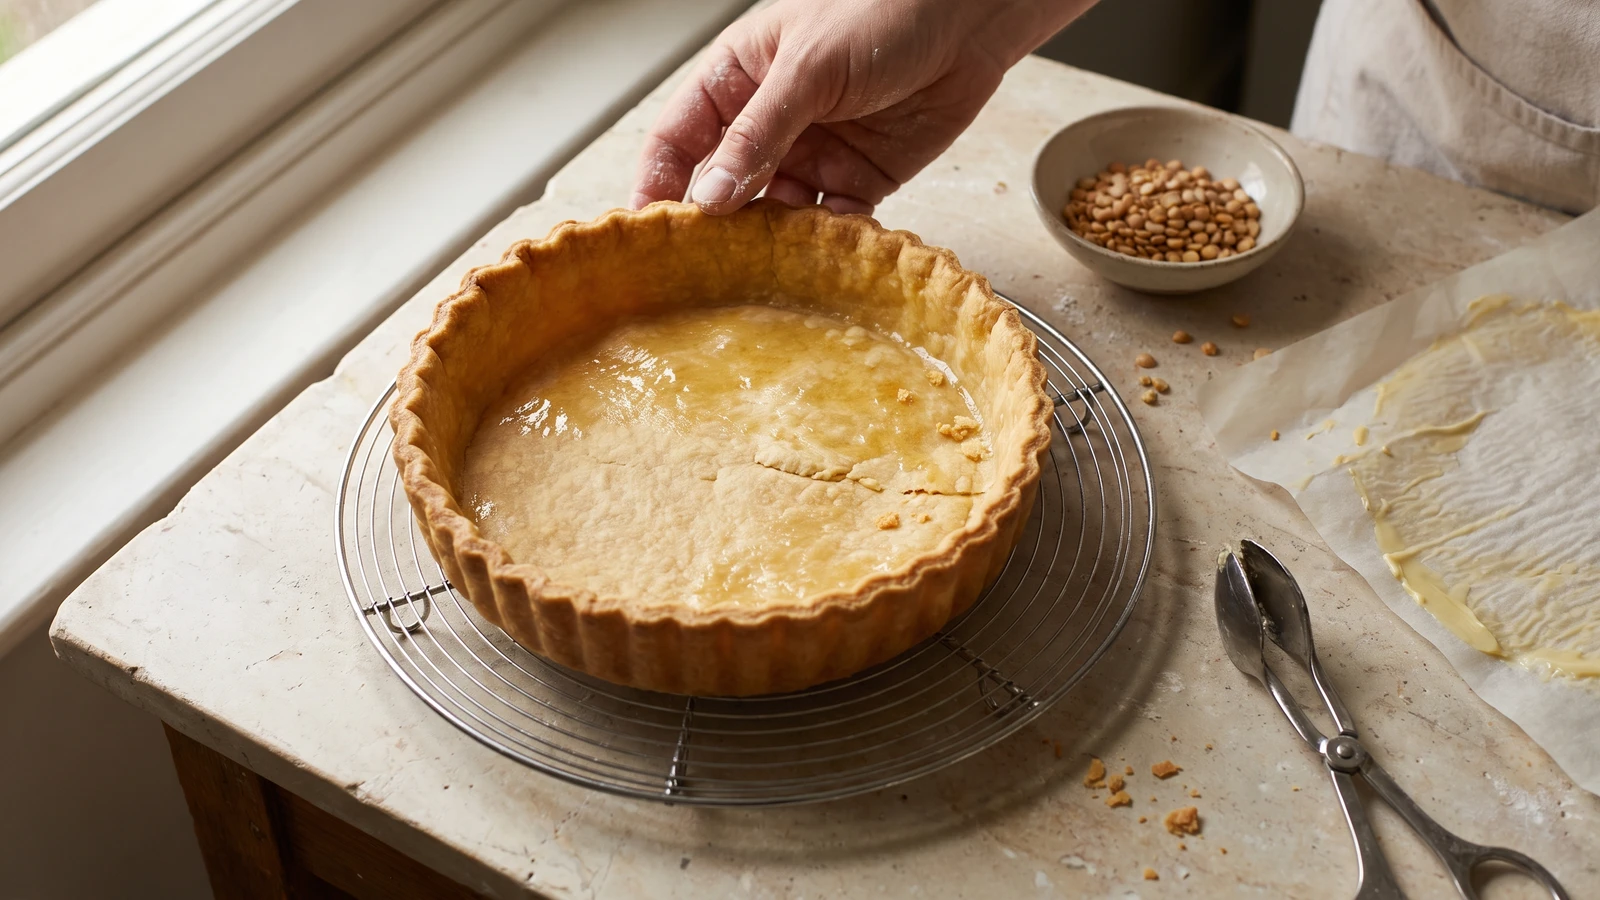
Croûte de flan teaches the discipline behind every crisp filled tart: roll evenly, fit without stretching, weight completely, then dry the shell until fruit has nowhere damp to hide.
Croûte de flan (flawn crust) teaches the rule beneath every filled tart: the shell must be dry before the filling arrives. Blind-baking is not a polite head start. It sets the walls, colors the butter, and drives away enough moisture that fruit cannot turn the base to paste. The one true thing is simple: pale pastry is not finished pastry.
The original entry assumed a pastry bench with a flan ring, pastry pincers, a small round baking sheet, and a drying-box, plus cold, rested paste ready to use. At home, a 9-inch (23 cm) metal tart ring on a flat baking sheet, your fingers, and a low oven perform the same work. The separate round sheet and drying-box are brigade scaffolding; the one-shell quantity is already right for a home table. I add a short chill after shaping because the pastry station kept its paste cold as a matter of course, while a home dough warms beneath the rolling pin. One cook, one stove, one evening.
The ⅙-inch (4 mm) layer, the round made one-quarter wider than the ring, the raised pinched crest, the complete weighting, and the second bake all stay. Those are the dish. When it is right, the shell stands unsupported, butter-gold and dry beneath your fingertips. Fill the weights to the crest, then dry the uncovered base fully after they come out. That second bake is the step that matters most.
Croûte de flan belongs to Parisian pâtisserie and the national French pastry repertoire, where a freestanding ring allowed one carefully formed shell to receive fruit, cream, or another filling without changing its method. The English word flawn comes through the same French flan family of words; in this preparation it names the empty shell, not a baked custard tart. Its pinched crest is not merely ornament, since the thickened rim strengthens the pastry while lentils or split peas support the sides during blind baking.
Quantity
About 1⅛ cups packed (270 ml / 300 g)
chilled but pliable, in one piece
Quantity
2 tablespoons (30 ml / 16 g)
for rolling as needed
Quantity
2 teaspoons (10 ml / 10 g)
softened and divided
Quantity
4 cups (950 ml / 750 g)
reserved solely for weighting
Quantity
1
beaten, for gilding or repairs
| Ingredient | Quantity |
|---|---|
| pâte brisée (shortcrust pastry)chilled but pliable, in one piece | About 1⅛ cups packed (270 ml / 300 g) |
| all-purpose flour (optional)for rolling as needed | 2 tablespoons (30 ml / 16 g) |
| unsalted buttersoftened and divided | 2 teaspoons (10 ml / 10 g) |
| dry lentils or split peasreserved solely for weighting | 4 cups (950 ml / 750 g) |
| large egg (optional)beaten, for gilding or repairs | 1 |
Heat the oven to 375°F (190°C conventional, 170°C fan) with a rack in the middle. Brush the inside of a 9-inch (23 cm) by 1-inch (2.5 cm) metal flan ring with half the softened butter, then set it on a small, flat metal baking sheet. Keep the remaining butter for the paper liner.
Let the chilled pâte brisée stand for about 5 minutes, just until it bends without splitting. On a surface dusted sparingly with flour, roll it into an even round ⅙ inch (4 mm) thick and about 11⅜ inches (29 cm) across, one-quarter wider than the ring. Turn the pastry often and roll from the center outward without bearing down on the edges. If the edge cracks, press it together and wait another minute; forcing pastry that is too cold only opens deeper splits.
Lift the pastry over the rolling pin and center it on the ring. Ease it down the sides, pressing it firmly into the lower angle without stretching it. Roll the pin across the top of the ring to cut away the overlap, reserving a small scrap for repairs. Press the pastry at the rim between your fingers so it rises about ⅜ inch (1 cm) above the metal in a regular crest. Pinch the crest at even intervals with pastry pincers or between thumb and forefinger. Prick the base and lower sides lightly with the point of a small knife, then chill the shaped shell for 20 minutes so the butter firms and the walls hold.
Crumple a sheet of parchment large enough to cover the base and sides, smooth it out, and brush the side that will touch the pastry lightly with the remaining butter. Fit it closely into the shell and fill with the dry lentils or split peas all the way to the crest, pressing them gently against the walls. Weights scattered only over the base cannot support the sides. Bake for 25 minutes, until the crest is firm and lightly golden.
Set the baking sheet on a stable surface. Scoop out the hot pulses, lift away the paper, and raise the ring straight upward. If the crust clings, trace carefully around the outside with the point of a knife rather than pulling. If a small crack opens, Ça se rattrape: brush it with beaten egg, press a paper-thin piece of the reserved pastry over it, and bake the patch closed. Return the bare shell to the oven for 6 to 8 minutes, until the base is evenly butter-gold and feels dry. If the base balloons, prick the bubble and press it down gently with the back of a spoon before continuing.
For a very dry shell, especially one destined for fruit, choose one of the book's two finishes. Lower the oven to 250°F (120°C) and dry the bare shell for 8 to 10 minutes, the home equivalent of the drying-box. Alternatively, gild the interior by brushing it with the thinnest possible layer of beaten egg, then return it to the 375°F (190°C) oven for 3 to 4 minutes, until the coating is set and faintly glossy. If egg gathers in the corners, blot it before baking; a thin film seals, while a puddle turns rubbery.
Transfer the crust carefully to a rack and cool it completely, about 30 minutes. Do not add fruit, cream, or custard while the pastry is warm, since trapped moisture undoes the drying you have just accomplished. Once cold, the shell should sound faintly hollow when tapped and stand without the ring. Fill it as your tart requires. À table!
1 serving (about 35g)
Culinary guides, cultural storytelling, and the editorial depth that makes cooking meaningful.
Discover Culinary ExplorerChef Juliette
A pale short-paste shell holds silken, lightly sweet carrot purée beneath neat glazed half-discs, their butter syrup catching the light: a classical tart poised between vegetable course and sweet.
Chef Juliette
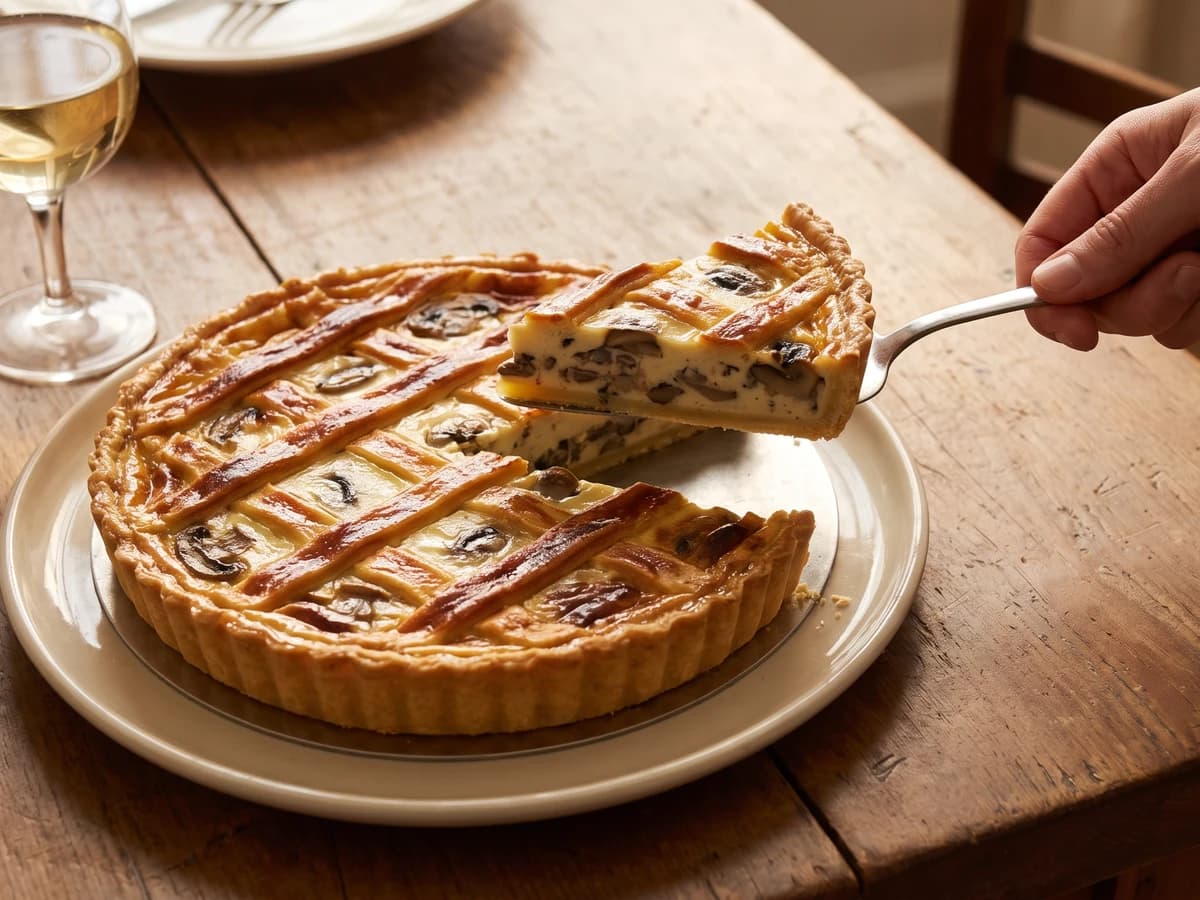
A hot mushroom flan under a butter-gold lattice, with cream reduced close around barely opened caps and a crisp short-paste base protected by one discipline: cool the filling completely.
Chef Juliette
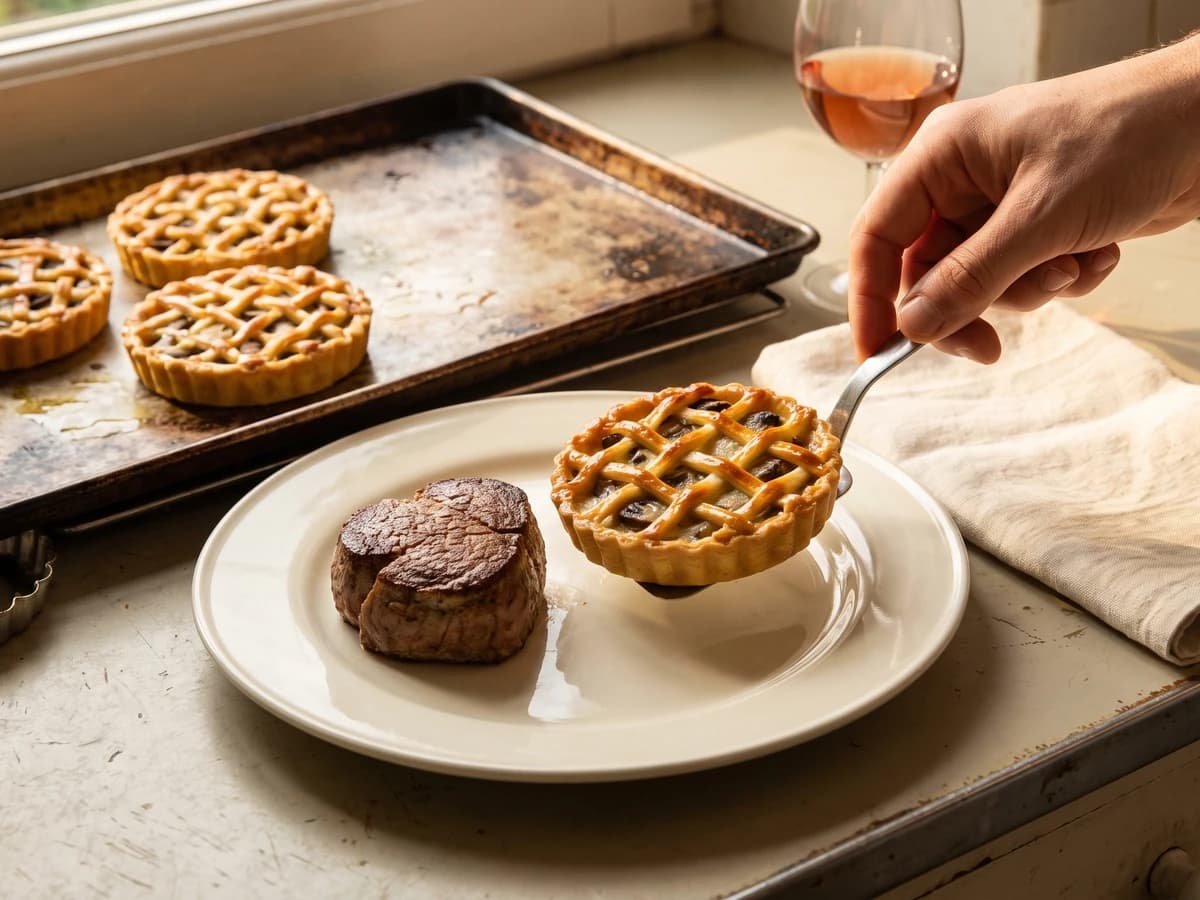
Four little mushroom flans, latticed and gilded, baked hard and fast until butter-gold: a classical garnish scaled to the meat it accompanies and served before its crispness has time to fade.

Chef Juliette
Morels surrender their liquor, then take it back as a glossy cream-and-butter sauce inside burnished puff pastry. The lesson is simple and absolute: reduce with patience, then heat gently and never boil.