
Chef Juliette
Various Almond Preparations
Five almond preparations, one discipline: remove the skins cleanly, dry every kernel through, then cut, toast, or cloak it in pale caramel without letting its fragrant oils escape.
A cooking platform built around craft, culture, and the stories behind what we eat.
Created by Chef Juliette
Based on No. 2341, The Buttering and Glazing of Moulds, from Le Guide Culinaire (1907) by Auguste Escoffier
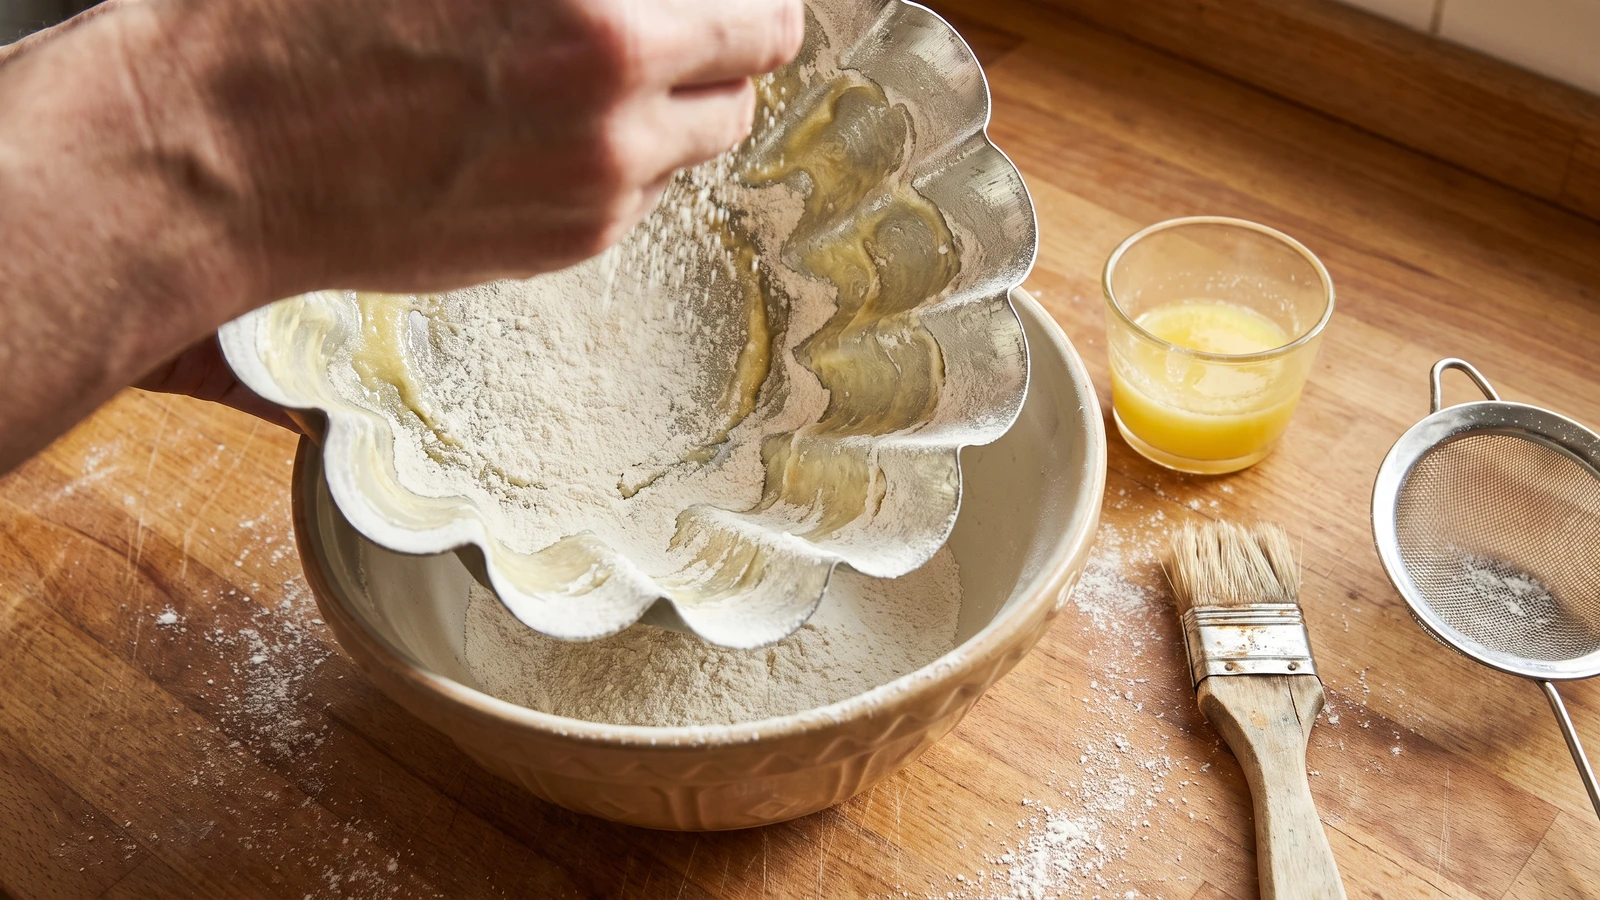
The smallest pâtisserie discipline decides whether a cake leaves its mould intact: clarified butter in every corner, followed by the lightest veil of dry flour or fécule.
Beurrage et chemisage des moules teaches one true thing before you touch the pan: release is made before batter ever enters it. Clarified butter must reach every corner, seam, flute, and central tube, then very dry flour or fécule settles over it in a veil. One bare spot is enough to hold the crumb and tear a cake at turning-out.
The classical pastry kitchen assumed clarified butter kept liquid, dry dusting flour ready, a pastry brush in hand, and ranks of moulds prepared for service. At home, warm a spoonful of clarified butter, prepare one mould, and catch the excess coating in a bowl. The brigade tray and dedicated butter pot are scaffolding and can go; the unbroken layer of pure butter and the thin, even chemisage must stay. One cook, one stove, one evening.
Do not mistake more coating for better insurance. Puddled butter and clotted flour make pale ridges on a cake, while a thin, uniform film releases cleanly and leaves the fine glazed crust promised by the method. Before the batter comes near, hold the mould toward the light and inspect every inside surface. That is the step that decides it.
Beurrage et chemisage belongs to the French pâtisserie workroom and the cuisine bourgeoise kitchen, with Parisian pastry practice giving the technique its most exact vocabulary. Metal moulds conduct heat beautifully but cling to egg-rich and sugar-rich batters, so generations of cooks answered with purified butter and a dry lining chosen for the cake: flour or fécule for biscuits, chopped or splintered almonds for certain richer cakes. The coating is not decoration added afterward; it becomes the fine glazed crust revealed at turning-out.
Quantity
1½ tablespoons (22 ml / 20 g)
liquid but barely warm; clarify from about 2 tablespoons (30 ml / 28 g) unsalted butter if needed
Quantity
3 tablespoons (45 ml / 24 g flour; 30 g fécule)
sifted
Quantity
⅓ cup (80 ml / 35 g)
finely chopped or cut into splinters; use instead of flour or fécule when directed
| Ingredient | Quantity |
|---|---|
| clarified butterliquid but barely warm; clarify from about 2 tablespoons (30 ml / 28 g) unsalted butter if needed | 1½ tablespoons (22 ml / 20 g) |
| very dry all-purpose flour or fécule (potato starch)sifted | 3 tablespoons (45 ml / 24 g flour; 30 g fécule) |
| blanched almonds (optional)finely chopped or cut into splinters; use instead of flour or fécule when directed | ⅓ cup (80 ml / 35 g) |
If starting with whole butter, melt it over the gentlest heat without letting it colour. Remove it from the heat, skim away the white foam, and let the milky solids sink before pouring the clear golden fat into a small cup. Leave every cloudy drop behind. If some solids escape into the cup, let them settle and decant once more; their water can turn the flour coating gummy.
Sift the flour or fécule into a completely dry bowl, breaking up every lump. The powder should fall freely from the sieve. If it feels damp or packs into little pellets, dry it for 5 minutes in a 250°F (120°C) oven, then cool it fully before use; warm flour would melt and disturb the butter film.
Begin with a clean, dry, room-temperature mould. Brush clarified butter into the deepest corners first, then across the base, sides, flutes, seams, and central tube, if there is one. Aim for a translucent film without ridges or pools. Hold the mould toward the light and turn it slowly. If bare metal shows anywhere, dab that spot with butter; if butter gathers at the bottom, brush the excess back over the sides.
Spoon half the flour or fécule into the mould. Turn and tilt the mould while tapping its outside so the powder travels over every buttered surface, adding more only if needed. Invert it over a wide bowl and tap decisively to remove all loose excess; the finished chemisage should resemble frost on glass, not plaster. If the coating gathers in wet clumps, wipe the mould clean and begin again with properly clarified butter. Ça se rattrape, and two minutes now are cheaper than a torn cake.
Look once more at the corners, flutes, and central tube before adding the batter. Patch any exposed place with the smallest touch of clarified butter and another breath of dry coating. Pour the batter toward the centre and let it spread naturally rather than scraping it repeatedly against the prepared walls. Bake and turn out according to the cake's own directions; the clean release begins with the work you have done here.
1 serving (about 44g)
Culinary guides, cultural storytelling, and the editorial depth that makes cooking meaningful.
Discover Culinary ExplorerChef Juliette
Five almond preparations, one discipline: remove the skins cleanly, dry every kernel through, then cut, toast, or cloak it in pale caramel without letting its fragrant oils escape.

Chef Juliette
A pastry pantry lesson in one tray: filberts warmed only until their red skins release, rubbed clean, cooled, and chopped into a fragrant mise-en-place for cakes, creams, pralines, and petits fours.
Chef Juliette
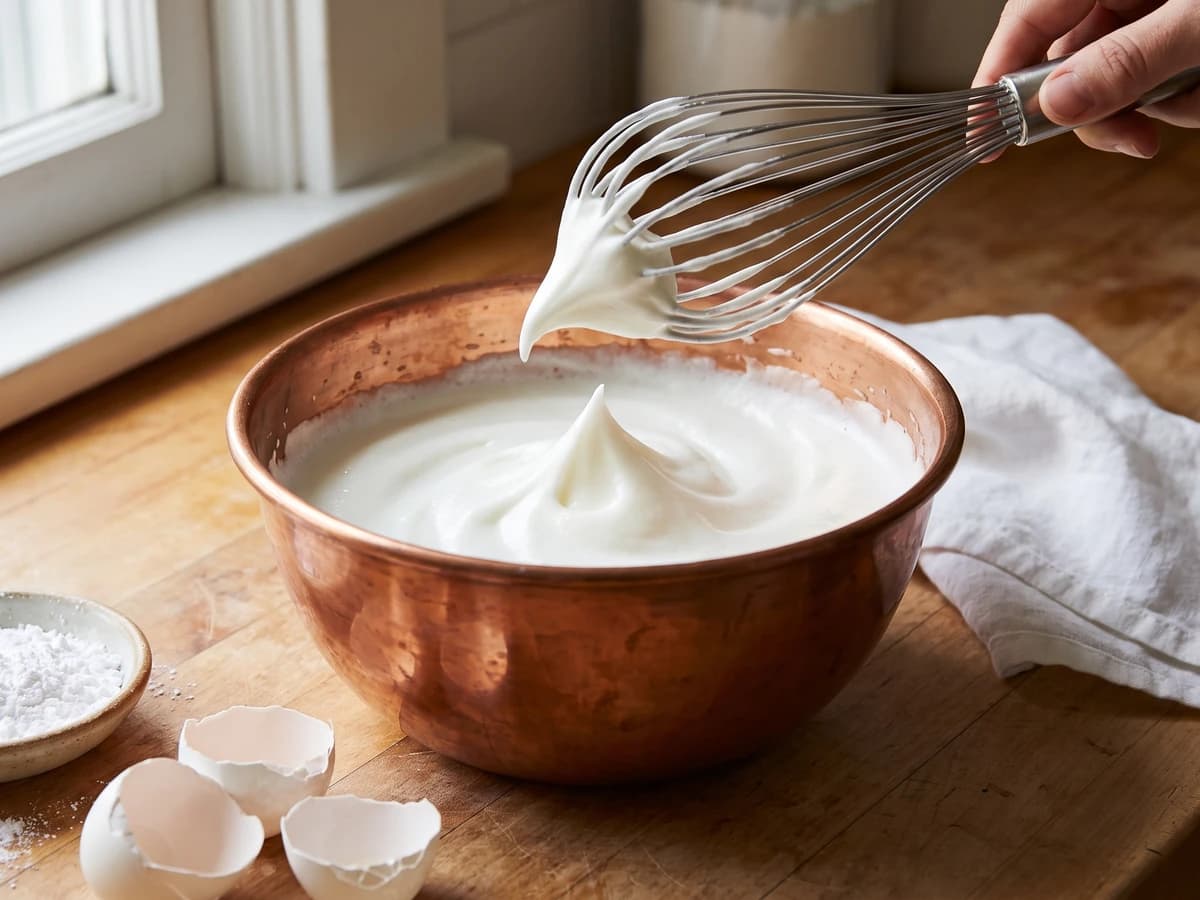
Four whites, one spotless bowl, and a patient change of speed: whisk gently until loosened, then briskly to glossy stiffness, with powdered sugar waiting if the foam begins to granulate.
Chef Juliette
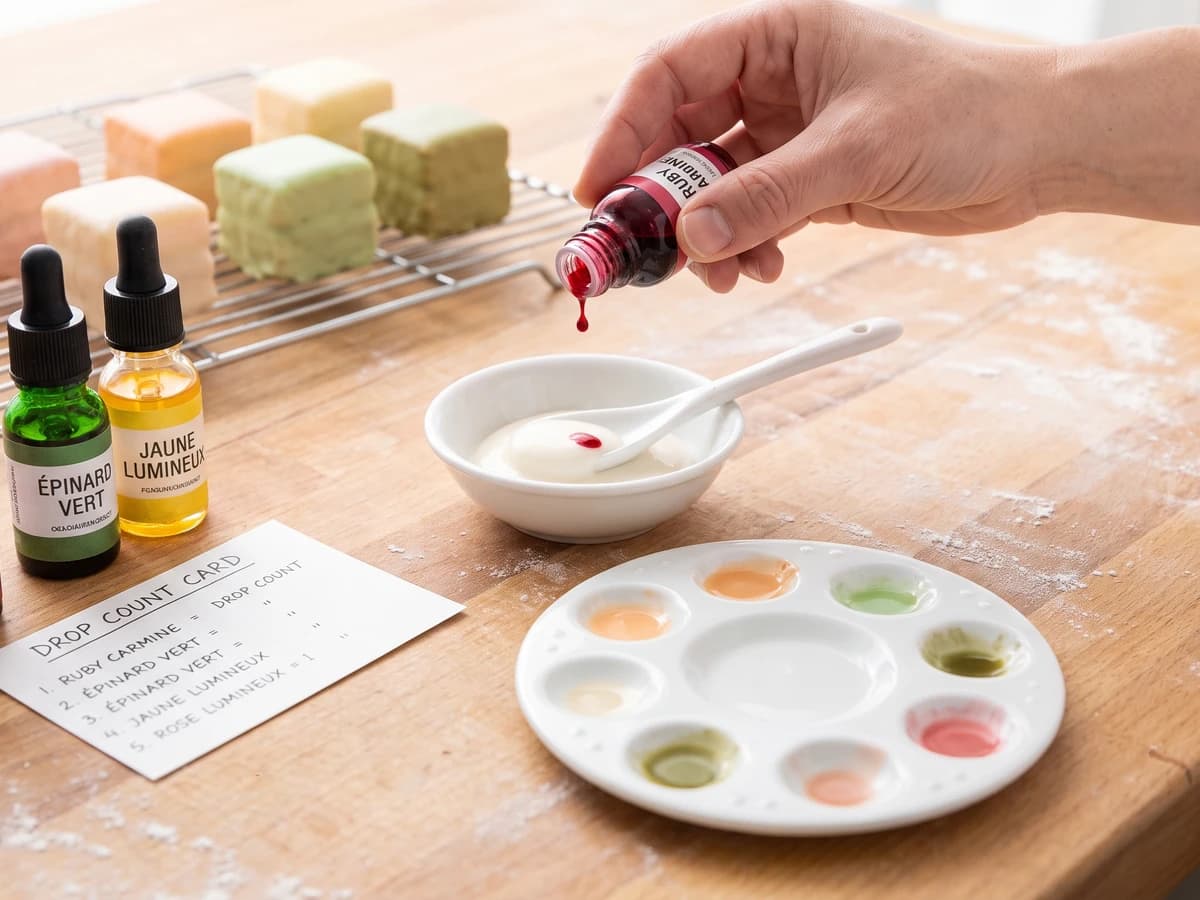
Three pastry colours, one disciplined hand: carmine, spinach green, and yellow kept as clean stocks, then blended drop by drop until the confection hints at fruit, leaf, or gold without becoming a paint box.