
Chef Takumi
Agar Jelly with Anko and Fruit (あんみつ, Anmitsu)
Anmitsu looks like a tray of small tasks, but the work is calm: dissolve the kanten fully, chill the pieces clean, then let fruit, anko, and kuromitsu do the speaking.
A cooking platform built around craft, culture, and the stories behind what we eat.
Created by
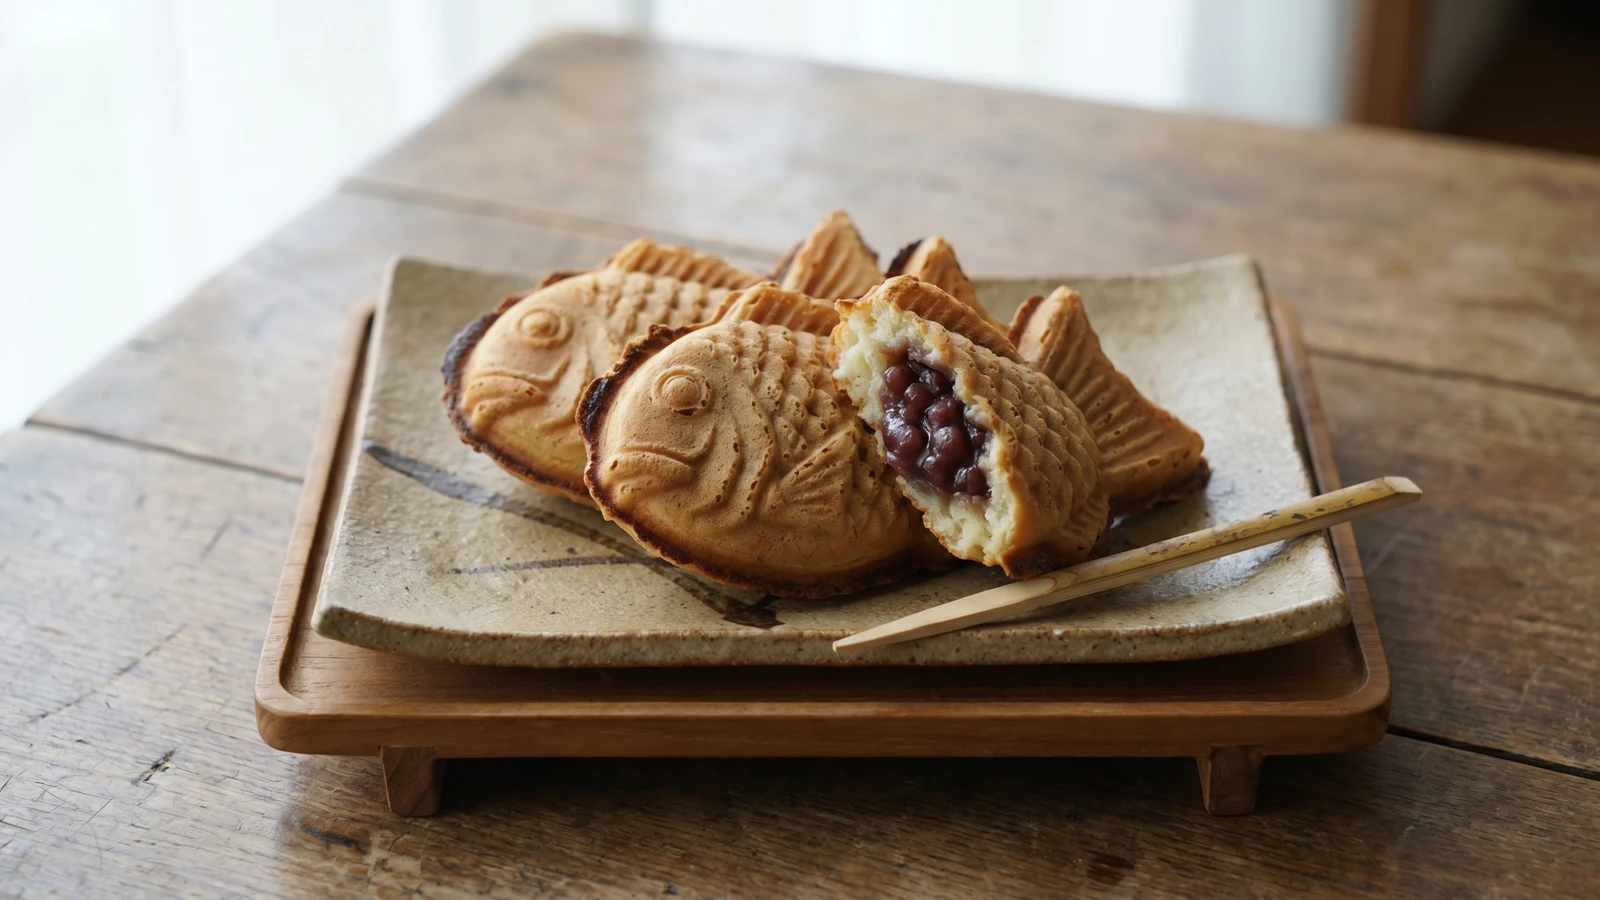
Taiyaki looks like a shop trick. It isn't. Thin batter, good anko, a hot fish mold, and the patience to cook each side until the tai releases cleanly.
The charm of taiyaki is ridiculous in the best way: a little sea bream made of cake, its belly full of sweet beans. Don't let the mold frighten you. The fish shape is theatre, yes, but the method is plain: heat the iron well, pour lightly, fill generously, and close it before the batter loses its lift.
The one detail that decides it is the heat of the mold. Too cool, and the taiyaki sticks and turns pale. Too hot, and the outside darkens before the batter sets around the anko. You want a steady medium heat, enough that a drop of batter begins to set on contact, not so fierce that it scorches while you are still finding the tail. A little oil wiped thinly into the grooves helps the fish keep its scales.
Use tsubuan, sweet coarse red bean paste, if you can. The beans should still have shape, because their gentle chew is half the pleasure against the crisp edge of the cake. This is not a formal wagashi for a tea room. It belongs to the street and the walk home, warm in the hand, lucky by pun and by appetite. Honmono doesn't always sit in lacquer. Sometimes it comes out of an iron fish.
Taiyaki is generally traced to Naniwaya Sōhonten in Azabu-Jūban, Tokyo, which began selling the fish-shaped version in 1909 after adapting imagawayaki, a round filled cake cooked in a mold. The shape is the tai, or sea bream, a fish tied to celebration because tai echoes medetai, meaning auspicious or happy. Older shops often prize the one-mold-at-a-time method, called tennen taiyaki, in contrast to multi-mold machines nicknamed yōshoku, or farmed.
Quantity
1 cup
sifted
Quantity
1 teaspoon
Quantity
1 tablespoon
Quantity
1/4 teaspoon
Quantity
1
Quantity
3/4 cup
Quantity
1 tablespoon, plus more for the mold
Quantity
1 teaspoon
Quantity
1 cup
| Ingredient | Quantity |
|---|---|
| cake floursifted | 1 cup |
| baking powder | 1 teaspoon |
| sugar | 1 tablespoon |
| fine sea salt | 1/4 teaspoon |
| large egg | 1 |
| whole milk | 3/4 cup |
| neutral oil | 1 tablespoon, plus more for the mold |
| honey | 1 teaspoon |
| tsubuan (coarse sweet red bean paste) | 1 cup |
Whisk the cake flour, baking powder, sugar, and salt in a bowl. Sifting matters here because the batter is thin and quick-cooking. Lumps hide in the small grooves of the fish mold and leave pale, floury patches where you want clean detail.
In another bowl, whisk the egg, milk, oil, and honey until smooth. Add the dry ingredients and whisk only until no dry flour remains. Stop there. Overmixing wakes the gluten and gives you a tough taiyaki, when the better one is tender inside with a crisp rim.
Let the batter rest for 10 minutes while the flour hydrates and the bubbles settle. This small pause makes it pour more evenly, so it runs into the head, tail, and fins before it begins to set.
Set a taiyaki iron over medium heat and warm both sides. Brush or wipe the inside with a very thin film of oil, then close and heat for another minute. The oil should shine, not pool. Pooled oil blurs the fish pattern and fries the surface unevenly.
Open the mold and pour in enough batter to cover the bottom fish shape thinly, nudging it into the head and tail. Spoon about 2 tablespoons of tsubuan down the center, keeping it away from the edges. Cover with a little more batter. The border must stay clean so the two halves seal instead of leaking beans onto the iron.
Close the mold and cook for 2 to 3 minutes on the first side, then turn and cook 2 to 3 minutes more. Listen for a gentle sizzle and look for a golden edge where the batter has set. If the mold resists when you open it, give it another half minute. A properly cooked tai releases without argument.
Lift the taiyaki out with chopsticks or a small wooden skewer and set it on a rack for one minute. That minute keeps the outside from softening against a plate. Eat while warm, when the rim is crisp and the anko is soft in the belly.
1 serving (about 100g)
Culinary guides, cultural storytelling, and the editorial depth that makes cooking meaningful.
Discover Culinary ExplorerChef Takumi
Anmitsu looks like a tray of small tasks, but the work is calm: dissolve the kanten fully, chill the pieces clean, then let fruit, anko, and kuromitsu do the speaking.

Chef Takumi
A cool square of almond-scented milk, set softly and served with mikan in thin syrup, is dinner-party food without theater. The only stern demand is restraint with the fragrance.

Chef Takumi
Azuki bar asks for patience twice: once while the beans soften, and once while the frozen bar yields. That hardness is not a flaw. It is the character of the thing.
Chef Takumi
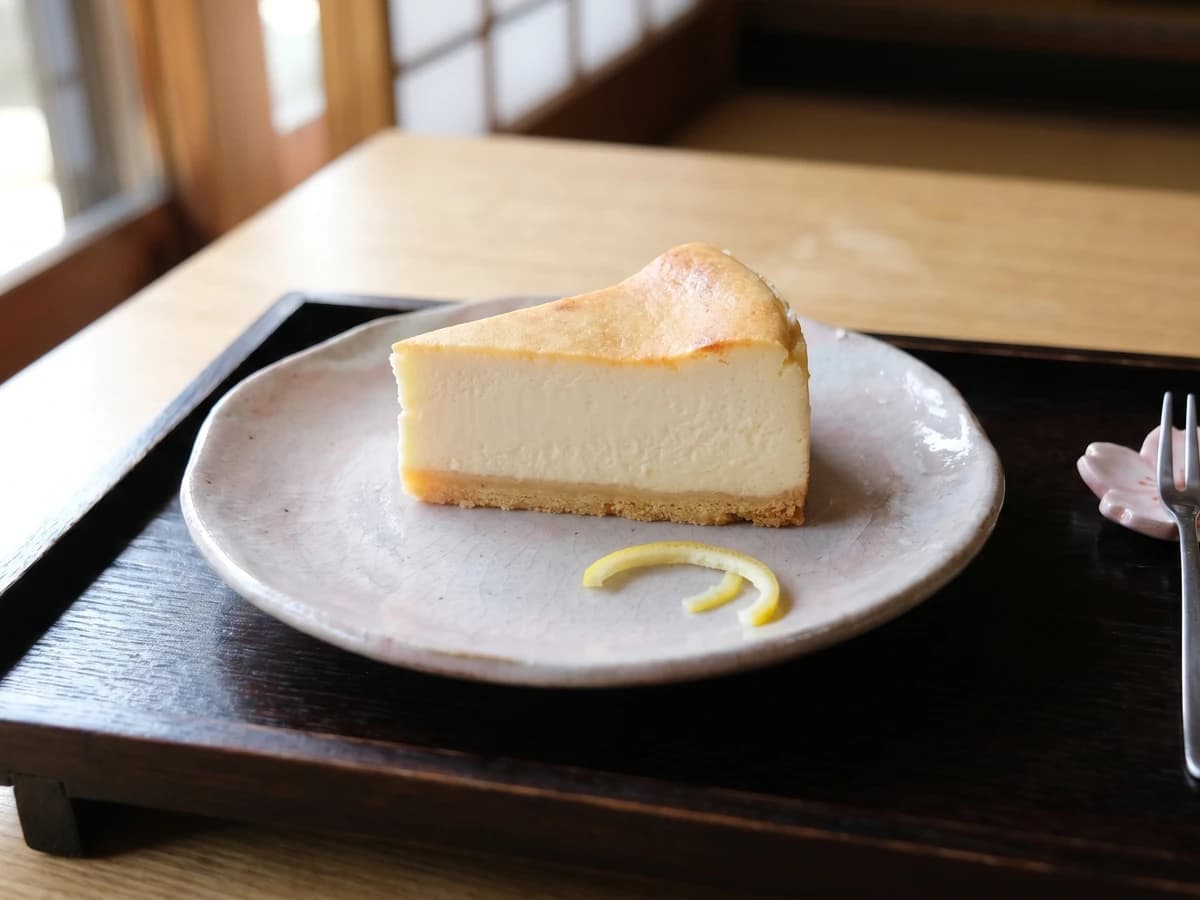
A Japanese baked cheesecake is not trying to float away. It is dense, smooth, and quietly tart, with a clean slice doing the work of decoration.