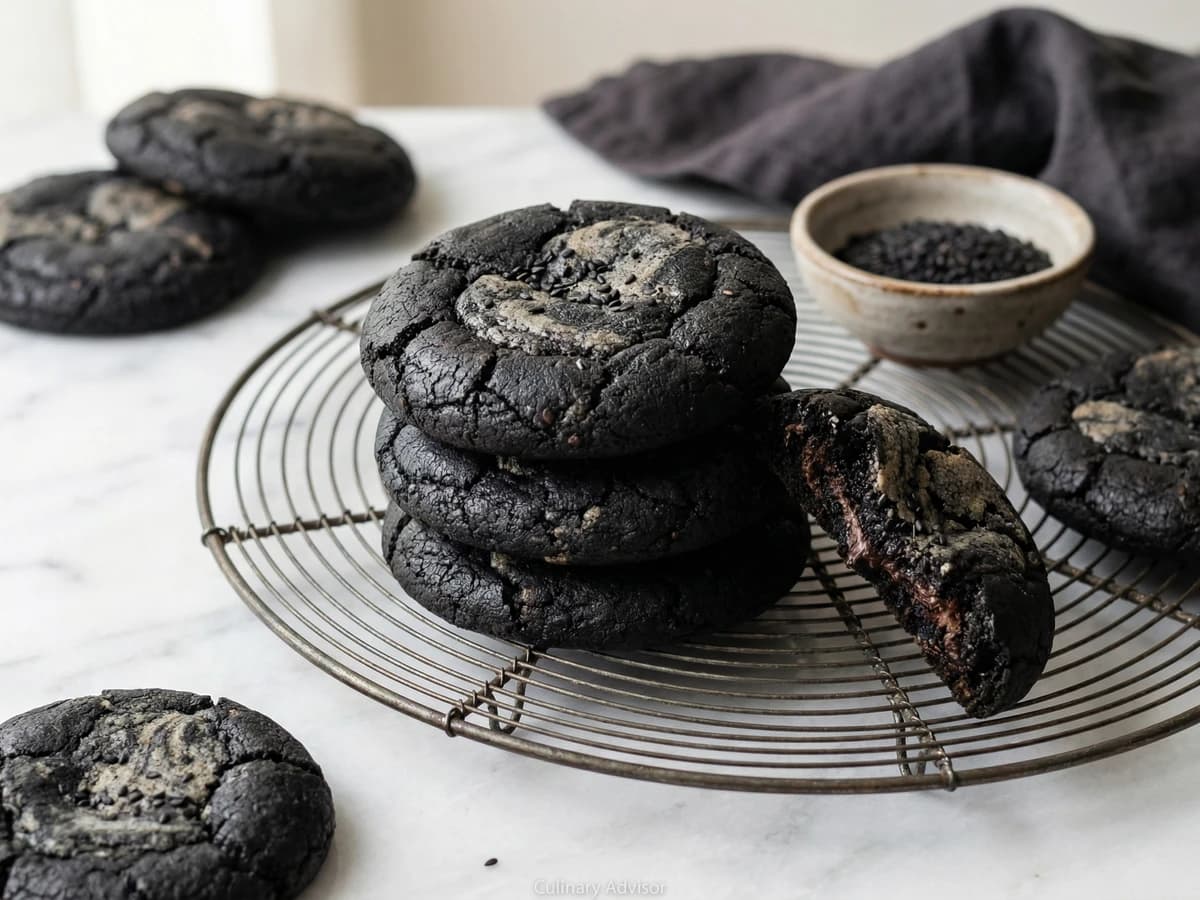
Impossibly tender cookies where fruity olive oil replaces butter entirely, creating a delicate crumb with subtle herbal undertones that make each bite feel both familiar and revelatory.
Pastries & Cookies
Fusion
Make Ahead
Dinner Party
15 min
Active Time
12 min cook•27 min total
Yield24 cookies
Ruth Wakefield invented the chocolate chip cookie by accident at the Toll House Inn in 1938, expecting her chocolate pieces to melt into the dough. They didn't. America has been grateful ever since. But the recipe that launched a thousand imitations relied on butter, and butter alone, for its richness.
This version commits what some would call heresy. We replace every drop of butter with olive oil. The result is not better or worse than the original. It is different in the best possible way. The cookies emerge from the oven with a tender, almost cake-like crumb that butter cannot produce. They stay soft for days. And there's a whisper of something green and fruity in the background, a Mediterranean ghost haunting an American classic.
Choose your olive oil carefully. You want something fruity and fresh, not the industrial stuff in the plastic jug. A good California or Spanish oil works beautifully. The flavor will come through, so make it count. I've served these to skeptics who swore they'd taste "healthy" or "weird." They asked for the recipe before finishing their second cookie.
The technique differs from butter-based cookies. There's no creaming step because there's nothing to cream. You simply whisk everything together. It's faster, easier, and produces results that will make you question every cookie you've baked before.
The technique, the tradition, and the story behind every dish.
Whisk together the flour, baking soda, and fine sea salt in a medium bowl. Set aside. This takes thirty seconds and prevents the baking soda from clumping in your dough, which would create bitter spots in your finished cookies.
Measure flour by spooning it into your measuring cup and leveling with a knife. Scooping directly from the bag compacts the flour and can add an extra quarter cup to your recipe.
2
Combine wet ingredients
In a large bowl, whisk the olive oil with both sugars until the mixture looks like wet sand and the sugars begin to dissolve, about one minute of vigorous whisking. The brown sugar will break down faster than the granulated. Keep going until you see no large clumps.
3
Add eggs and vanilla
Crack in the eggs and add the vanilla extract. Whisk vigorously until the mixture becomes slightly pale and emulsified, about two minutes. You're building structure here. The eggs need to create an emulsion with the oil, much like making mayonnaise. When ready, the mixture will look glossy and cohesive rather than broken and oily.
Room temperature eggs emulsify more easily with oil. If yours are cold, place them in a bowl of warm water for five minutes before cracking.
4
Build the dough
Add the flour mixture to the wet ingredients and fold with a rubber spatula until just combined. Stop when you see no more dry streaks. Overmixing develops gluten and creates tough cookies. The dough will be softer and more cohesive than butter-based cookie dough. This is correct.
5
Fold in chocolate
Add the chocolate chips and fold until evenly distributed throughout the dough. Use a firm hand here. The dough can take it now that the flour is incorporated. Every scoop should contain chocolate.
6
Rest the dough
Cover the bowl tightly with plastic wrap and refrigerate for at least one hour or up to 72 hours. This rest is not optional. The flour hydrates, the flavors meld, and the sugars dissolve completely. Cookies baked from rested dough spread less and develop deeper flavor. The difference between one hour and 24 hours is noticeable. The difference between 24 and 72 hours is profound.
For the best results, rest the dough overnight. The texture improves dramatically and the olive oil flavor integrates more smoothly.
7
Prepare to bake
Position racks in the upper and lower thirds of your oven and preheat to 350°F (175°C). Line two baking sheets with parchment paper. Remove the dough from the refrigerator. It will be firm but scoopable.
8
Portion the cookies
Scoop rounded tablespoons of dough onto the prepared sheets, leaving three inches between each cookie. They spread more than butter cookies. A #40 cookie scoop (about 1.5 tablespoons) produces the ideal size. You should fit eight cookies per standard half-sheet pan.
9
Bake until golden
Bake for 10 to 12 minutes, rotating the pans from top to bottom and front to back at the halfway point. The cookies are done when the edges turn golden brown but the centers still look slightly underdone and puffy. They will continue cooking on the hot pan. Remove them too early and they'll be raw in the middle. Too late and you lose that tender crumb that makes this recipe special.
If you prefer thicker cookies, increase the dough portions to two tablespoons and add one to two minutes to the baking time.
10
Finish with salt
Remove the pans from the oven and immediately sprinkle each cookie with a few flakes of sea salt while the surfaces are still tacky. The salt will stick and provide small bursts of salinity that amplify both the chocolate and the olive oil. Let cookies cool on the pan for five minutes before transferring to a wire rack.
Chef Tips
•Use a fruity, fresh olive oil, not the stuff languishing at the back of your pantry. California Arbequina or a mild Spanish oil works beautifully. Avoid anything too peppery or grassy, which can turn bitter when baked.
•Chopped chocolate bars create a more interesting texture than uniform chips. You get thin shards that melt into the dough alongside thick chunks that stay gooey. A 70% cacao bittersweet chocolate provides the ideal balance.
•These cookies keep exceptionally well. The olive oil prevents them from drying out the way butter cookies do. Store in an airtight container at room temperature for up to five days.
•For a more pronounced olive oil flavor, drizzle a small amount of your best finishing oil over the cookies immediately after they come out of the oven, just before adding the salt.
•The dough freezes beautifully. Scoop onto a parchment-lined sheet, freeze until solid, then transfer to a freezer bag. Bake directly from frozen, adding two to three minutes to the baking time. You'll have fresh cookies whenever the craving strikes.
Advance Preparation
•Dough improves with rest and can be refrigerated for up to 72 hours before baking. The 48-hour mark produces the best flavor development.
•Portioned dough balls can be frozen for up to three months. Bake directly from frozen at 350°F for 13-15 minutes.
•Baked cookies freeze well for up to two months. Thaw at room temperature for 30 minutes or warm briefly in a 300°F oven.
•For parties, prepare and portion the dough two days ahead, then bake in batches so guests get warm cookies throughout the evening.
Frequently Asked Questions
Nutrition Information
1 cookie (about 32g)
Calories
280 calories
Total Fat
13 g
Saturated Fat
4 g
Trans Fat
0 g
Unsaturated Fat
9 g
Cholesterol
6 mg
Sodium
190 mg
Total Carbohydrates
27 g
Dietary Fiber
1 g
Sugars
25 g
Protein
2 g
Where cooking meets culture.
Culinary guides, cultural storytelling, and the editorial depth that makes cooking meaningful.