
Chef Takumi
Agar Jelly with Anko and Fruit (あんみつ, Anmitsu)
Anmitsu looks like a tray of small tasks, but the work is calm: dissolve the kanten fully, chill the pieces clean, then let fruit, anko, and kuromitsu do the speaking.
A cooking platform built around craft, culture, and the stories behind what we eat.
Created by
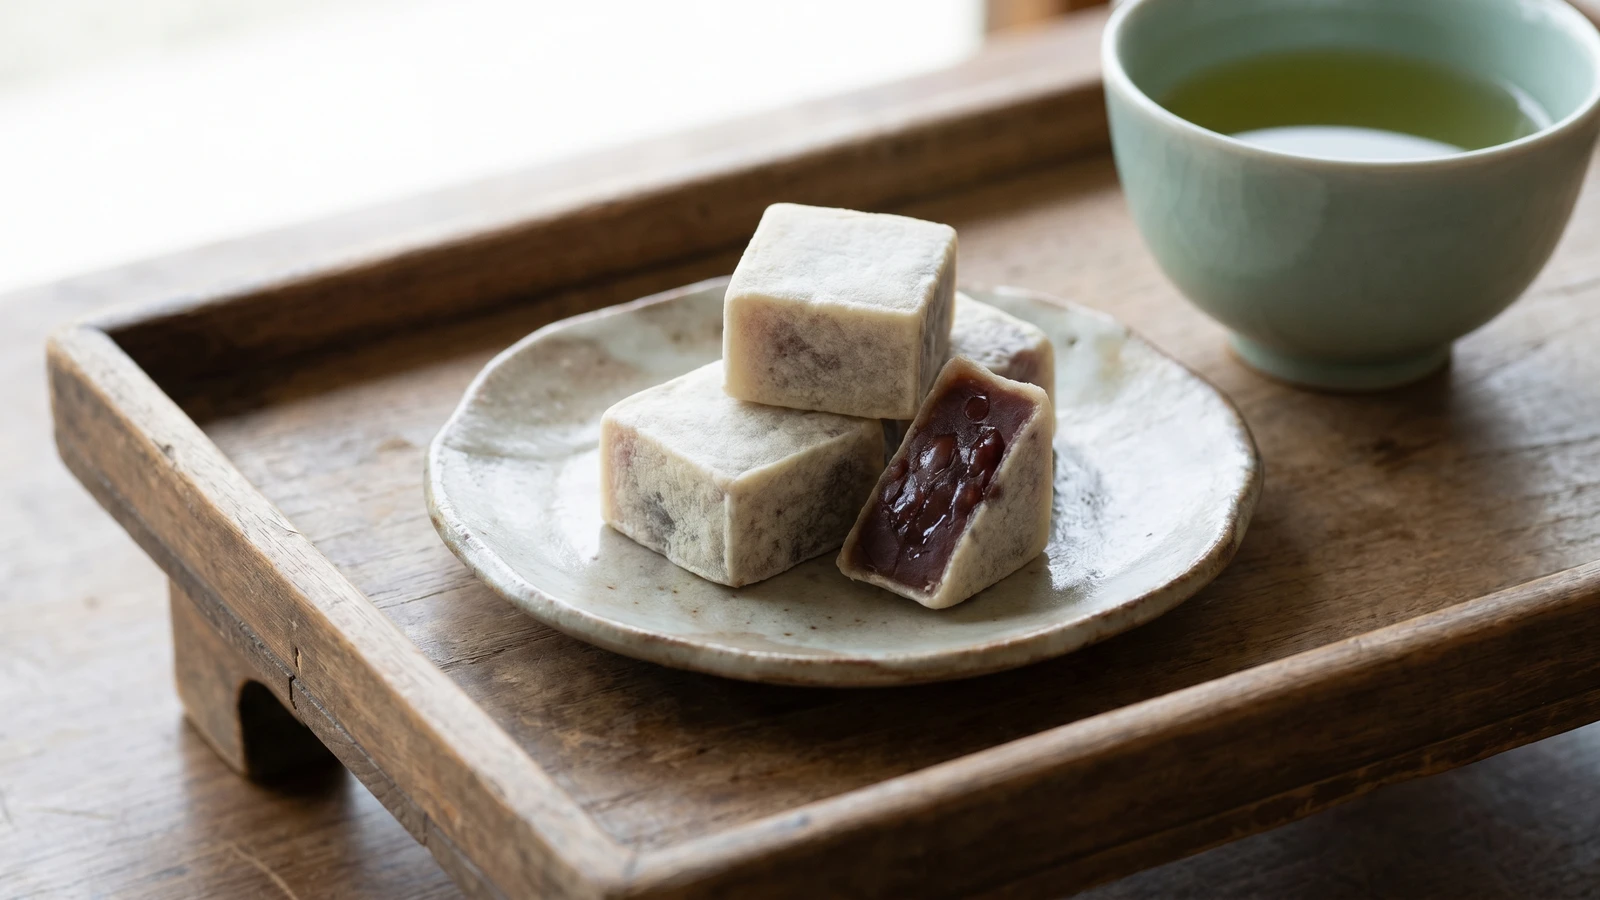
Kintsuba is confectionery with no hiding place: a block of good azuki anko, a thin coat of batter, and the patience to cook each face cleanly.
Kintsuba looks like the sort of sweet that requires a confectioner's sleeve full of secrets. It doesn't. The cake is mostly anko, the sweet azuki bean paste, standing almost alone. That is its charm and its warning.
The one detail that decides it is firmness. Soft anko makes a slumped square and a troubled cook. Cook the paste until it holds a path when stirred, chill it until it cuts cleanly, then give it only the thinnest skin of batter. The batter isn't a pancake jacket. It's a quiet seal, cooked face by face until matte, so the bean inside stays the subject.
This is a sweet for tea, not a showpiece. In wagashi, Japanese confectionery, restraint does half the work: one cube, one cup of tea, a little empty space on the plate. Use good azuki and don't bury it under perfume or color. Honmono often has the manners of plain food, which is convenient for the cook and mildly disappointing for anyone hoping to make life more dramatic.
Kintsuba appeared as an Edo-period sweet and takes its name from a sword guard, or tsuba, because early versions were round and flat like the metal guard on a Japanese sword. The older Kyoto form was called gintsuba, or silver guard, after its pale rice-flour coating, while Edo makers shifted to wheat flour and the richer name kintsuba, gold guard. The square shape common today became practical as kneaded anko was set in blocks, cut, and griddled on each face.
Quantity
200g
Quantity
800ml, plus more for boiling
Quantity
170g
Quantity
1/4 teaspoon
Quantity
1 tablespoon, or 4g
Quantity
3 tablespoons
Quantity
1 tablespoon
crushed fine
Quantity
1 teaspoon
Quantity
5 tablespoons
Quantity
a thin film
for the griddle
| Ingredient | Quantity |
|---|---|
| dried azuki beans | 200g |
| water | 800ml, plus more for boiling |
| granulated sugar | 170g |
| fine sea salt | 1/4 teaspoon |
| kanten powder, or powdered agar | 1 tablespoon, or 4g |
| cake flour or low-protein wheat flour | 3 tablespoons |
| shiratamako (optional)crushed fine | 1 tablespoon |
| sugar | 1 teaspoon |
| water | 5 tablespoons |
| neutral oilfor the griddle | a thin film |
Rinse the azuki and put them in a pot with plenty of cold water. Bring to a boil, cook 5 minutes, then drain. This first boil, called shibukiri, removes some harshness from the skins, so the finished anko tastes clean rather than muddy.
Return the beans to the pot with fresh water to cover by 4cm. Simmer gently, adding water as needed to keep them covered, until a bean crushes easily between finger and thumb, about 50 to 70 minutes. Don't rush with a hard boil. Split skins leak starch and make the paste heavy before the centers are tender.
Drain the beans well, then return them to the pot with the sugar and salt. Cook over medium-low heat, stirring and pressing some beans against the side, until glossy and thick, 12 to 18 minutes. Sugar tightens the skins if added too early, so it goes in only after the beans are tender.
Stir the kanten into 800ml water in a small pan, bring it to a full boil, and simmer 2 minutes so it dissolves completely. Stir only 120ml of this hot kanten liquid into the thick anko, just enough to help it set firm. Cook another 2 minutes, stirring, until the paste holds a clear path across the bottom of the pot.
Line a small square pan, about 18cm, with parchment. Spread the anko 2cm thick, smooth the top, and chill until firm, at least 1 hour. Cut into 12 neat squares or rectangles with a damp knife. Clean cuts matter because the batter is thin and will show every torn edge.
Whisk the flour, crushed shiratamako if using, sugar, and water into a thin, smooth batter the texture of light cream. Let it rest 10 minutes so the flour hydrates. A rested batter clings in a thinner coat, which is what you want here: skin, not bread.
Warm a griddle or nonstick pan over low heat and wipe it with the thinnest film of oil. Dip one face of an anko square into the batter and set that face on the pan until it turns pale, dry, and matte, about 45 seconds. Repeat with the remaining five faces. Low heat keeps the coating tender and pale; high heat browns it before the batter has time to set.
Set the finished kintsuba on a rack and let them cool to room temperature. The coating firms as it cools, and the anko settles back into a clean block. Serve one or two pieces with tea, leaving space on the plate so the plain square can look as deliberate as it tastes.
1 serving (about 55g)
Culinary guides, cultural storytelling, and the editorial depth that makes cooking meaningful.
Discover Culinary ExplorerChef Takumi
Anmitsu looks like a tray of small tasks, but the work is calm: dissolve the kanten fully, chill the pieces clean, then let fruit, anko, and kuromitsu do the speaking.

Chef Takumi
A cool square of almond-scented milk, set softly and served with mikan in thin syrup, is dinner-party food without theater. The only stern demand is restraint with the fragrance.

Chef Takumi
Azuki bar asks for patience twice: once while the beans soften, and once while the frozen bar yields. That hardness is not a flaw. It is the character of the thing.
Chef Takumi
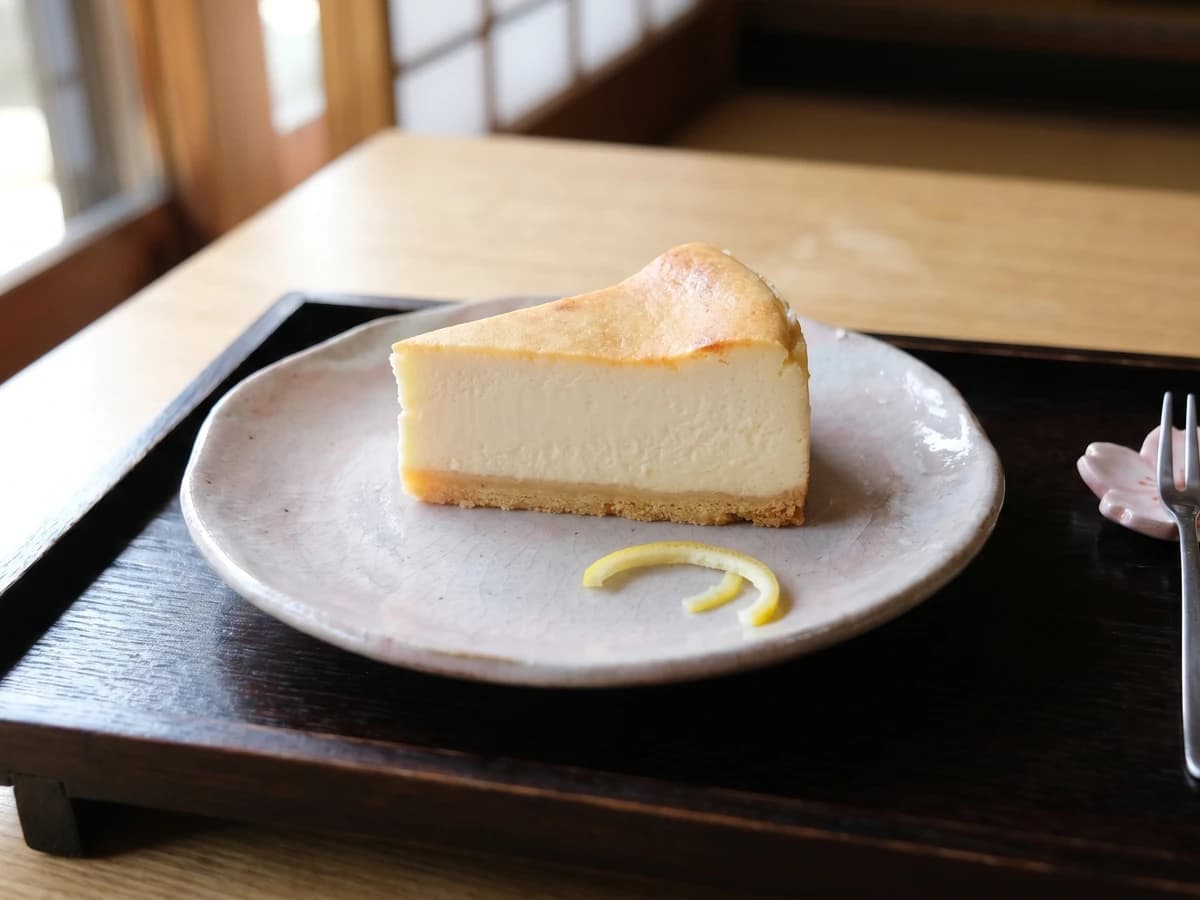
A Japanese baked cheesecake is not trying to float away. It is dense, smooth, and quietly tart, with a clean slice doing the work of decoration.