Chef Juliette
Ordinary Brioche Paste
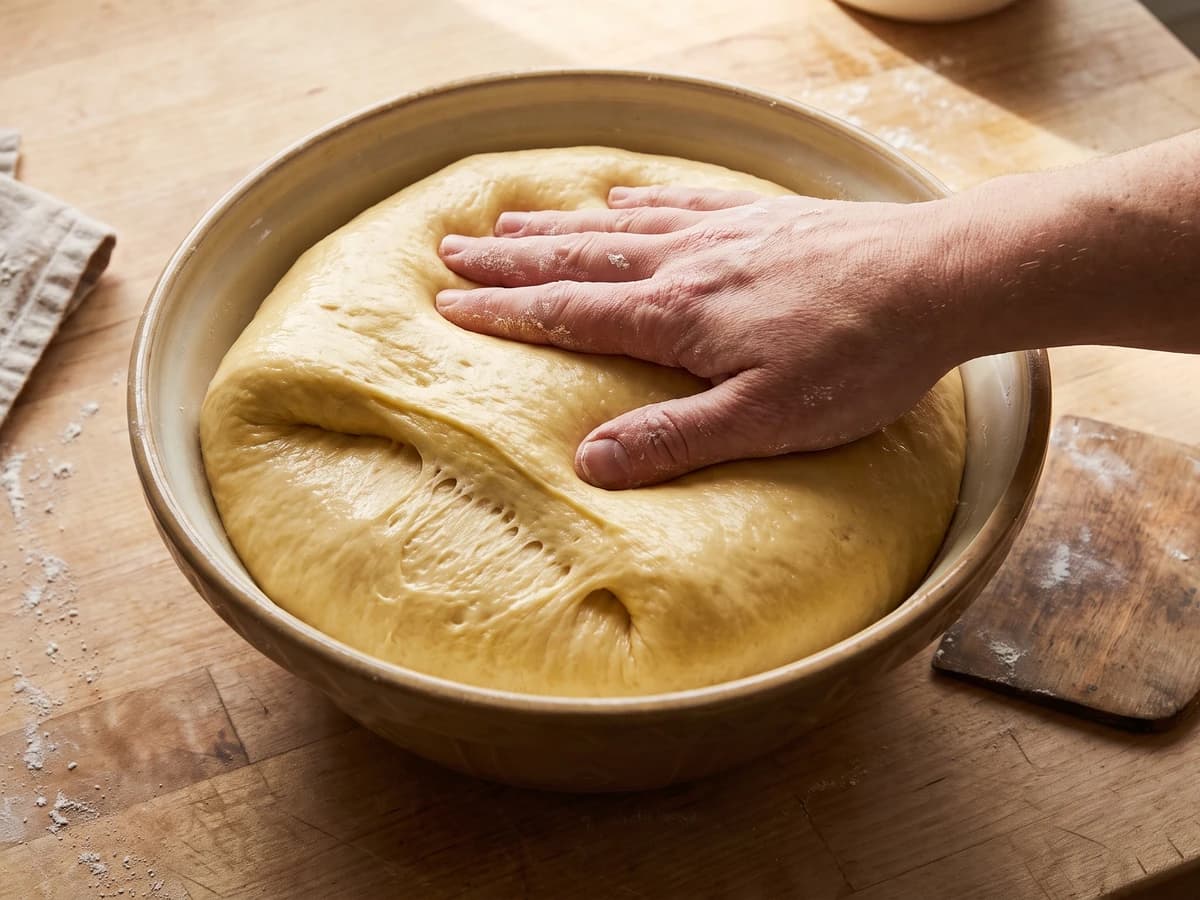
Pâte à brioche ordinaire teaches enriched dough properly: wake the leaven, build strength before the last egg, then work in pliable butter by stages and let one long fermentation do its quiet work.
A cooking platform built around craft, culture, and the stories behind what we eat.
Created by
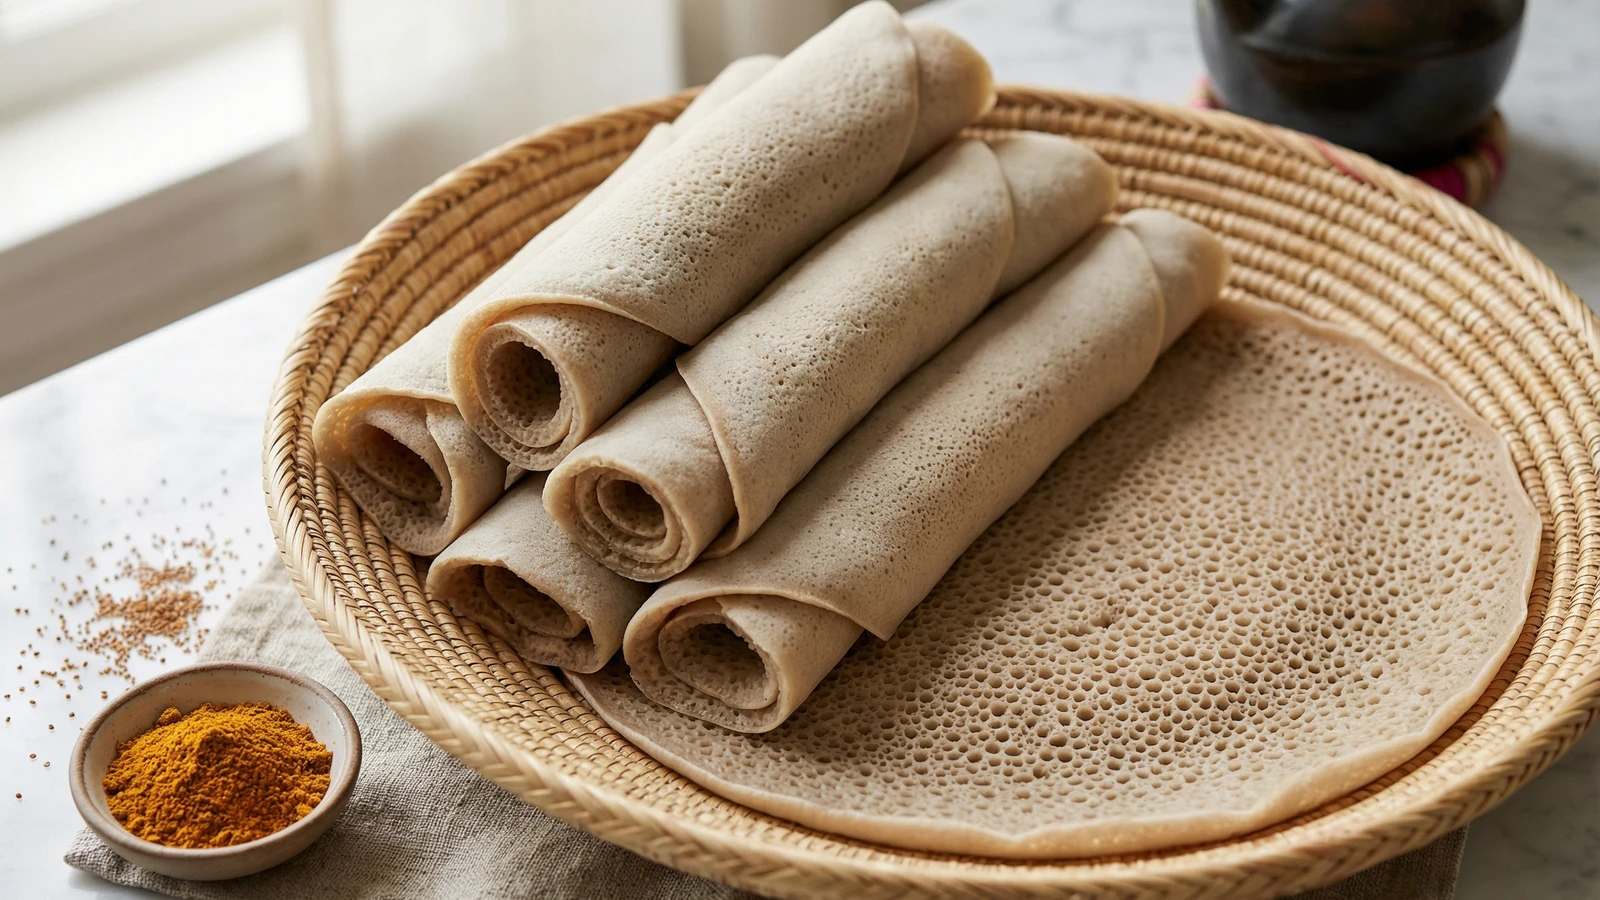
The ancient sourdough of the Horn of Africa, transformed into a spongy, tangy flatbread covered with a thousand tiny eyes. This is bread that doubles as plate and utensil, inviting you to tear, scoop, and share.
Injera predates European sourdough by millennia. Ethiopian cooks have fermented teff flour into this extraordinary flatbread for over three thousand years, creating something that functions as bread, plate, and eating utensil all at once. The technique requires patience but no special skill. You mix flour and water, wait for wild yeasts to work their magic, then pour thin rounds onto a hot surface. That's the whole of it.
The spongy texture comes from fermentation. As wild bacteria and yeasts consume the starches in teff flour, they produce carbon dioxide and lactic acid. The gas creates thousands of tiny bubbles. The acid creates tang. This isn't decoration. Those bubbles give injera the structural integrity to wrap around stews without falling apart, while the sourness cuts through the rich, spiced dishes it's meant to cradle.
Teff is the world's smallest grain, native to the Ethiopian highlands. It contains more protein and iron than wheat, and its flavor carries earthy, slightly nutty notes you won't find in any other bread. Finding pure teff flour may require a trip to an international market or an online order. The effort is worth making. Substitutions exist, and I'll share them, but nothing truly replicates the real thing.
I've watched Ethiopian grandmothers make injera that puts restaurant versions to shame. Their secret? Time. Three days of fermentation produces better injera than two. The batter should smell pleasantly sour, like good sourdough, before you cook it. Rush this process and you'll have flat, flavorless crepes. Give it time and you'll have something magnificent.
Quantity
500g (3 1/2 cups)
Quantity
750ml (3 cups), plus more as needed
Quantity
1/2 teaspoon
| Ingredient | Quantity |
|---|---|
| teff flour | 500g (3 1/2 cups) |
| lukewarm water | 750ml (3 cups), plus more as needed |
| fine sea salt | 1/2 teaspoon |
Combine the teff flour and lukewarm water in a large glass or ceramic bowl. Whisk vigorously until no dry pockets remain. The consistency should resemble thin pancake batter. Cover loosely with a clean kitchen towel or plastic wrap with a few holes poked in it. The fermentation needs air exchange but protection from dust and insects.
Set the bowl in a warm spot, ideally 70-80°F. Near a pilot light, on top of the refrigerator, or in an oven with just the light on all work well. Stir the batter once daily. By day two, you'll see bubbles forming on the surface and smell a pleasant sourness developing. By day three, the batter should be actively bubbly, smell like sourdough starter, and have developed a layer of dark liquid on top. This liquid (called 'absit' in Amharic) is fermentation gold.
Carefully pour off about half a cup of the dark liquid that has risen to the top. Place it in a small saucepan and bring to a boil over medium heat. Let it boil for one minute, then remove from heat and let it cool to room temperature. This cooked absit will be stirred back into the batter. The process concentrates flavor and helps set the injera's distinctive texture.
Stir the remaining fermented batter well, incorporating the bubbles throughout. Add the salt and the cooled absit. The batter should now be thinner than crepe batter, closer to the consistency of heavy cream. It should pour in a steady stream and coat a spoon thinly. Add water tablespoon by tablespoon if needed to achieve this consistency. Too thick and your injera will be dense. Too thin and it won't hold together.
Traditional Ethiopian cooks use a clay plate called a mitad. You'll use a large non-stick skillet, at least 12 inches in diameter. Heat it over medium heat for five full minutes. The surface must be evenly hot. Sprinkle a few drops of water on the pan. If they dance and evaporate within two seconds, you're ready. Do not grease the pan. Injera is cooked without any fat whatsoever.
Working quickly, pour approximately 1/2 cup of batter onto the hot surface, starting from the outer edge and spiraling inward toward the center. The motion is similar to making a crepe, but you don't tilt the pan. Let the batter flow and spread naturally to fill any gaps. Work fast. The batter begins setting the moment it hits the heat.
Cover the pan immediately with a tight-fitting lid. Cook for 2-3 minutes without peeking for the first minute. Then watch carefully. The surface will transform before your eyes. Hundreds of tiny holes (the 'eyes') will bubble up across the entire surface. The edges will begin to curl away from the pan. The top will change from wet and shiny to matte and set. When no wet batter remains visible and the edges lift easily, it's done.
Use a large spatula or your hands (the edges should be cool enough to touch) to transfer the injera to a clean kitchen towel. The cooked side goes down, the eye-covered side faces up. Cover with another towel while you cook the remaining batter. Stack the finished injera on top of each other, separated by nothing. They won't stick. The texture should be spongy but sturdy, flexible enough to roll but strong enough to tear without falling apart.
Serve injera at room temperature, either rolled loosely, folded into quarters, or laid flat on a large platter as a base for stews. To eat traditionally, tear off a piece with your right hand and use it to scoop up bites of the dishes served atop it. Store leftover injera in a sealed plastic bag at room temperature for up to 2 days, or refrigerate for up to 5 days. Bring to room temperature before serving.
1 serving (about 140g)
Culinary guides, cultural storytelling, and the editorial depth that makes cooking meaningful.
Discover Culinary ExplorerChef Juliette
Pâte à brioche ordinaire teaches enriched dough properly: wake the leaven, build strength before the last egg, then work in pliable butter by stages and let one long fermentation do its quiet work.

Chef Juliette
Ordinary brioche takes one exact measure of butter and a patient rise in the mould, becoming so light and silken that it can cradle fruit without losing its tender crumb.
Chef Juliette
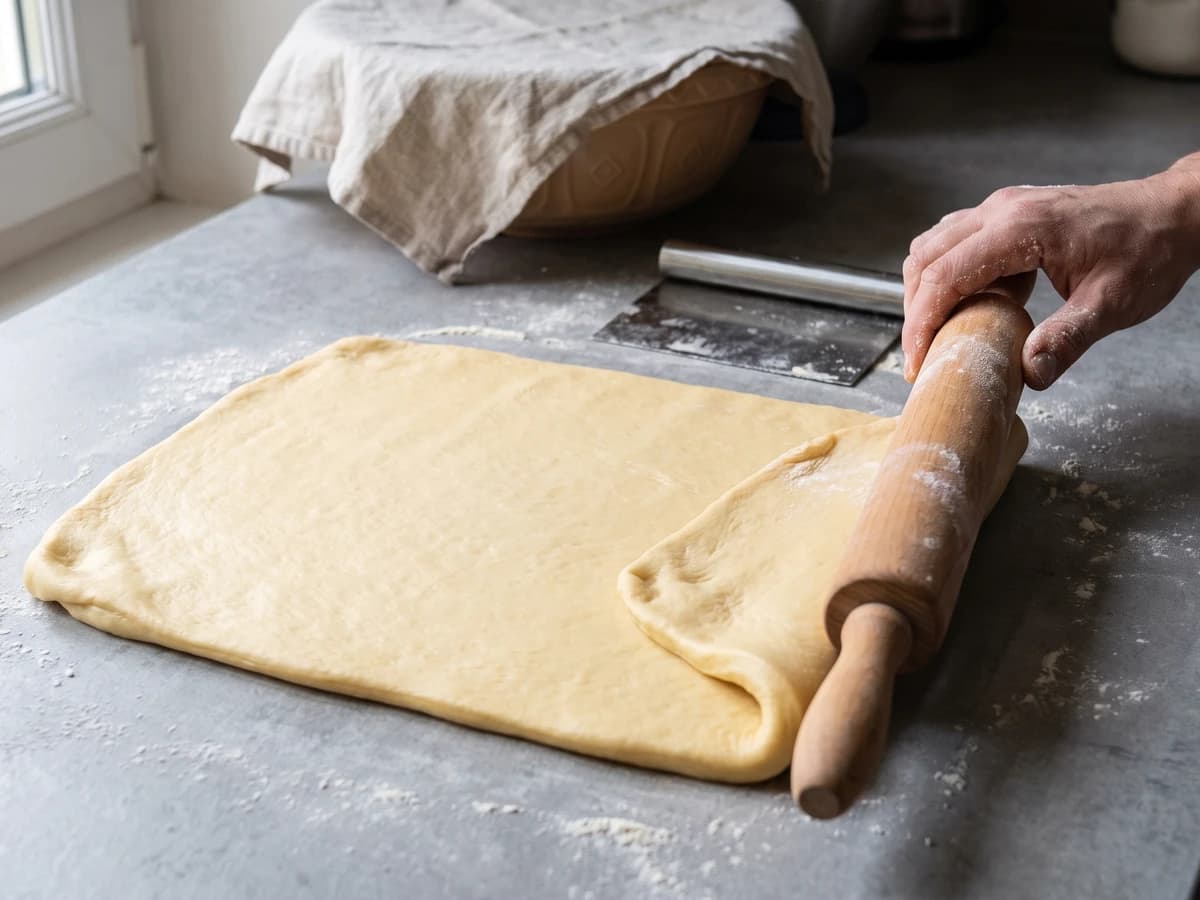
Pâte à brioche ordinaire, butter-rich yet firm, teaches the useful side of brioche: slow fermentation, disciplined mixing, and a dough that rolls cleanly for lining, wrapping, and every sturdy pastry job.

Chef Thomas
A proper British bloomer, slashed deep and baked until the cuts open wide and the crust turns deep, glossy gold. The kind of loaf that makes the rest of the day feel deliberate.