
Chef Juliana
Abará
You think banana leaves and hand-whipped bean massa mean “isso não é pra mim.” Wrong. Soak, peel, beat, wrap, steam. Abará is learned by touch, not inherited by magic.
A cooking platform built around craft, culture, and the stories behind what we eat.
Created by
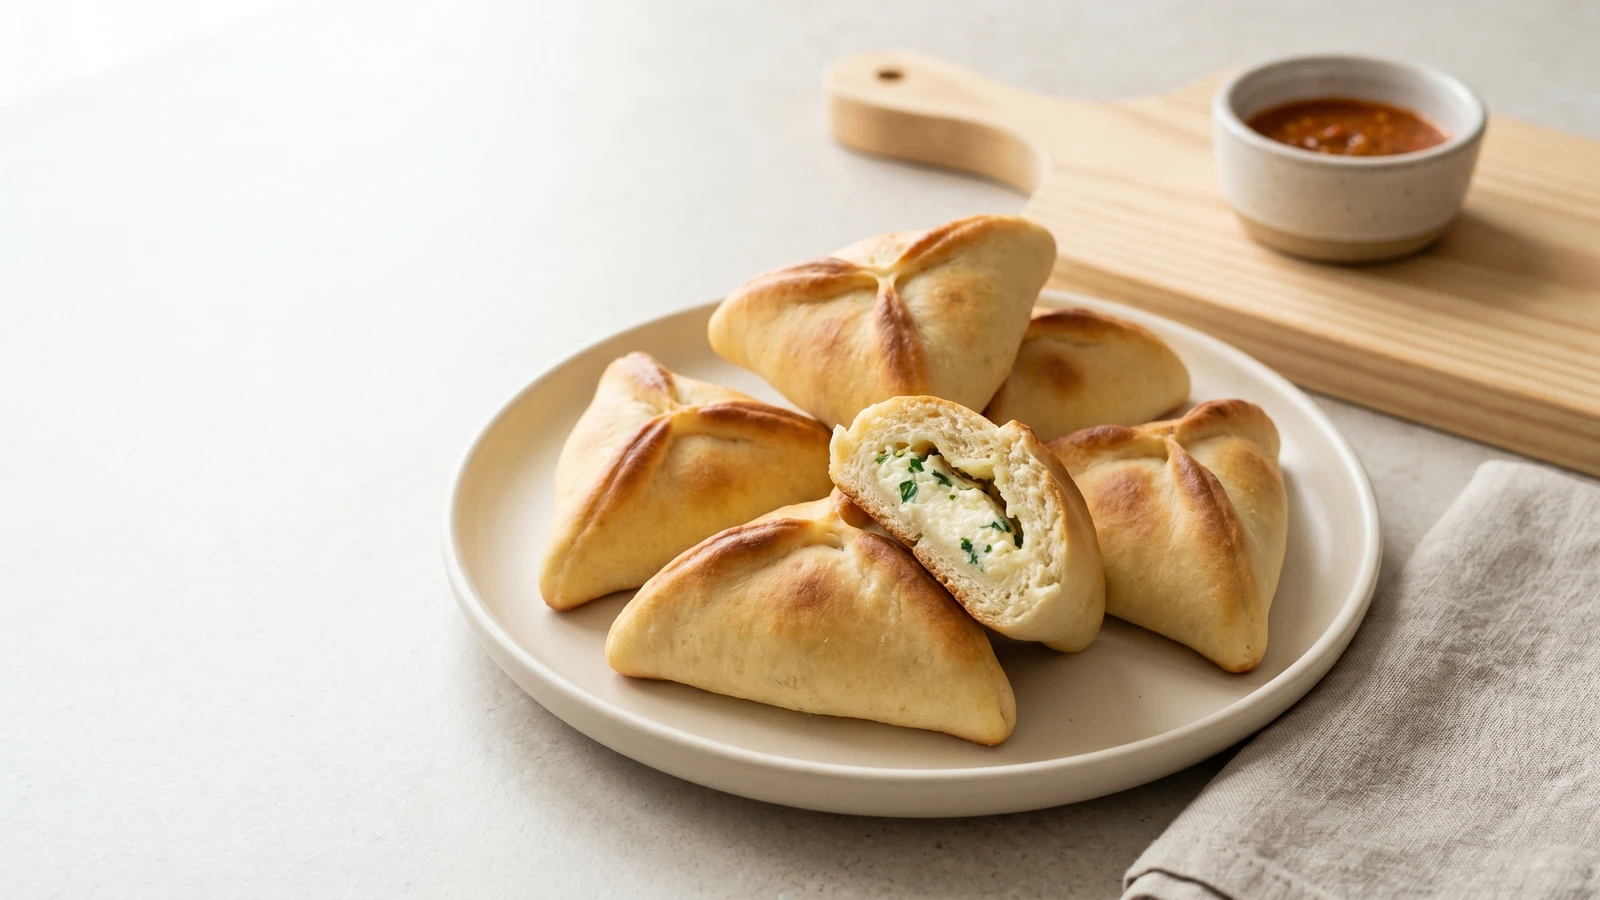
You think dough means isso não é pra mim. Wrong. Measure, let it rise, keep the filling dry, and pinch the triangle tight. That's the whole mystery, sem drama.
You hear the word dough and that little voice starts: isso não é pra mim. Let it talk while you measure the flour. Dough is not a gift, not a secret handshake, not something only the aunt with magic hands can do. Cozinhar não é dom, é um aprendizado. Anota aí.
I learned late enough to respect the fear. The first doughs I made were either sticky monsters or hard little stones, because nobody had told me what to look for. So here's what you'll look for: a dough that feels soft and a little tacky, a filling that clumps without dripping, and seams pinched tight enough that the cheese stays where you put it. A recipe that works gives you checkpoints, not vague courage.
This is snack food, yes, the kind you buy at a lanchonete and eat from a paper bag before the game or after school. But it belongs to the same kitchen as the pê-efe, rice, beans, a piece of meat or an egg, and something green. Same lesson: comida de verdade is built from ordinary things handled properly. Flour, yeast, cheese, onion, parsley. No packet pretending to be flavor, no cheese powder doing theater in your bowl.
Make a tray tonight and freeze another. That's how a gente resolves the week: cook once, eat well twice, and stop acting like the oven is judging you.
Esfiha came to Brazil with Syrian and Lebanese immigrants, especially from the late nineteenth century into the early twentieth, and São Paulo helped turn it into a lanchonete standard. In the Levant, sfiha is often an open meat pie, while Brazil made room for both open and closed versions, including cheese fillings that suit school snacks, parties, and home freezers. The closed triangle is practical before it is pretty: three seams hold a moist filling inside a soft bread dough that travels well.
Quantity
1 cup
Quantity
1/2 cup
Quantity
2 tablespoons
Quantity
2 1/4 teaspoons
Quantity
1/4 cup, plus more for the bowl
Quantity
1 large
Quantity
1 1/2 teaspoons
Quantity
4 to 4 1/2 cups, plus more for dusting
Quantity
2 cups
crumbled and well drained, or firm whole-milk ricotta
Quantity
1 cup
shredded
Quantity
1/4 cup
finely chopped
Quantity
2 tablespoons
finely grated and squeezed dry
Quantity
1/2 teaspoon
Quantity
1/4 teaspoon
Quantity
1/2 teaspoon, or to taste
Quantity
1
Quantity
1 tablespoon
for brushing
| Ingredient | Quantity |
|---|---|
| warm milk | 1 cup |
| warm water | 1/2 cup |
| sugar | 2 tablespoons |
| active dry yeast | 2 1/4 teaspoons |
| neutral oil | 1/4 cup, plus more for the bowl |
| egg | 1 large |
| fine salt | 1 1/2 teaspoons |
| all-purpose flour | 4 to 4 1/2 cups, plus more for dusting |
| fresh Minas cheesecrumbled and well drained, or firm whole-milk ricotta | 2 cups |
| mozzarellashredded | 1 cup |
| parsleyfinely chopped | 1/4 cup |
| onionfinely grated and squeezed dry | 2 tablespoons |
| dried oregano | 1/2 teaspoon |
| black pepper | 1/4 teaspoon |
| salt | 1/2 teaspoon, or to taste |
| egg yolk | 1 |
| milkfor brushing | 1 tablespoon |
Stir the warm milk, warm water, sugar, and yeast in a large bowl. Let it sit until the surface looks foamy and alive, about 5 to 10 minutes. If nothing happens, stop there and get fresh yeast. Dead yeast will not become brave in the oven.
Whisk in the oil, egg, and salt. Add 4 cups of flour and stir until a shaggy dough forms, then knead on a lightly floured counter for 8 to 10 minutes. Add the extra 1/2 cup flour only by the spoonful, just until the dough is smooth, soft, and a little tacky but no longer coating your hands. Too much flour makes a heavy esfiha, and a gente wants tender bread around the cheese, not a doorstop.
Oil the bowl, put the dough back in, turn it once so the surface is lightly coated, and cover with a clean towel. Let it rise in a warm spot until doubled, about 45 to 60 minutes. This rest gives the yeast time to fill the dough with tiny bubbles, which is why the baked esfiha comes out soft instead of tight and bready.
Mix the drained Minas cheese or ricotta with the mozzarella, parsley, grated onion, oregano, black pepper, and salt. Squeeze a spoonful in your hand. It should hold together without dripping. If it feels wet, press it in a clean towel for a minute. Wet filling is the little sabotage that opens your seams in the oven.
Punch the risen dough down, then divide it into 24 equal pieces. Keep them covered while you work so the surface doesn't dry out. Roll one piece into a 4-inch circle, thin at the edges and a little thicker in the center, then put 1 heaping tablespoon of filling in the middle. Thin edges seal more easily; a slightly thicker center keeps the bottom from tearing under the cheese.
Lift three sides of the dough up around the filling to make a triangle. Pinch from the center out to each corner, then pinch the three corners again, firmly. Look for closed seams with no wet cheese on the edge. Cheese melts and pushes, so a lazy pinch becomes an open esfiha. The oven tells on us.
Set the esfihas seam side up on parchment-lined baking trays, leaving about 1 inch between them. Cover and rest for 15 minutes while the oven heats to 200°C (400°F). Beat the egg yolk with 1 tablespoon milk and brush the tops lightly, avoiding puddles around the seams. The short rest relaxes the dough so it puffs instead of splitting, and the yolk gives that lanchonete gold.
Bake for 18 to 22 minutes, rotating the trays halfway through, until the esfihas are puffed, golden on top, and lightly browned underneath. Let them sit for 5 minutes before eating so the cheese settles instead of running out at the first bite. Warm is perfect. Burning your mouth to prove enthusiasm is unnecessary.
1 serving (about 60g)
Culinary guides, cultural storytelling, and the editorial depth that makes cooking meaningful.
Discover Culinary ExplorerChef Juliana
You think banana leaves and hand-whipped bean massa mean “isso não é pra mim.” Wrong. Soak, peel, beat, wrap, steam. Abará is learned by touch, not inherited by magic.
Chef Juliana
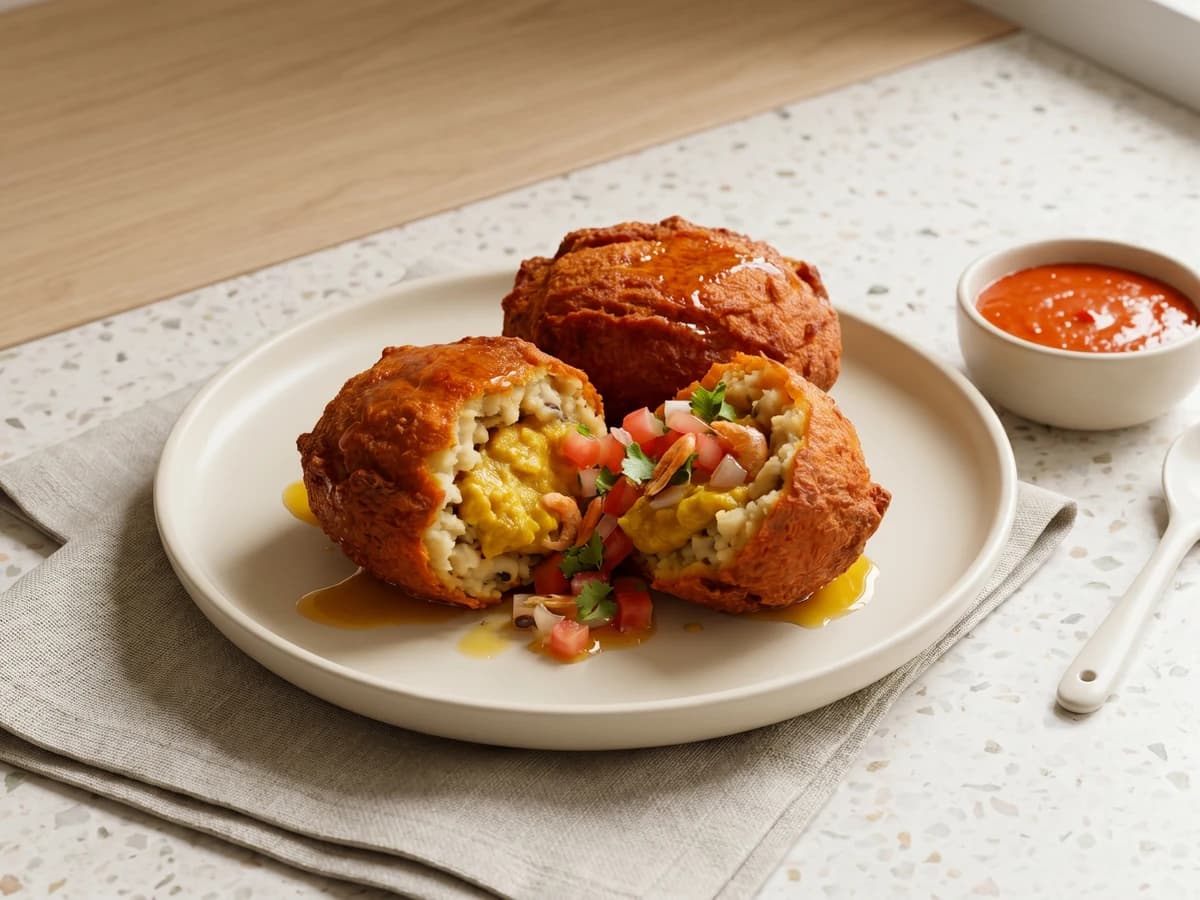
You think food of Iansã from the baianas' tabuleiro is not for your stove. Anota aí: soaked feijão-fradinho, real dendê, and hand-whipping make a home version learnable.

Chef Juliana
You think fried salgados belong to the birthday table you buy, not the one you make. Wrong. Learn the dough, seal the cheese, and the freezer starts working for you.

Chef Juliana
You think stuffed fried bolinhos are for the boteco cook, not your kitchen. Wrong. Mash the aipim warm, keep the filling dry, fry in small batches, and the tray disappears.