
Chef Juliana
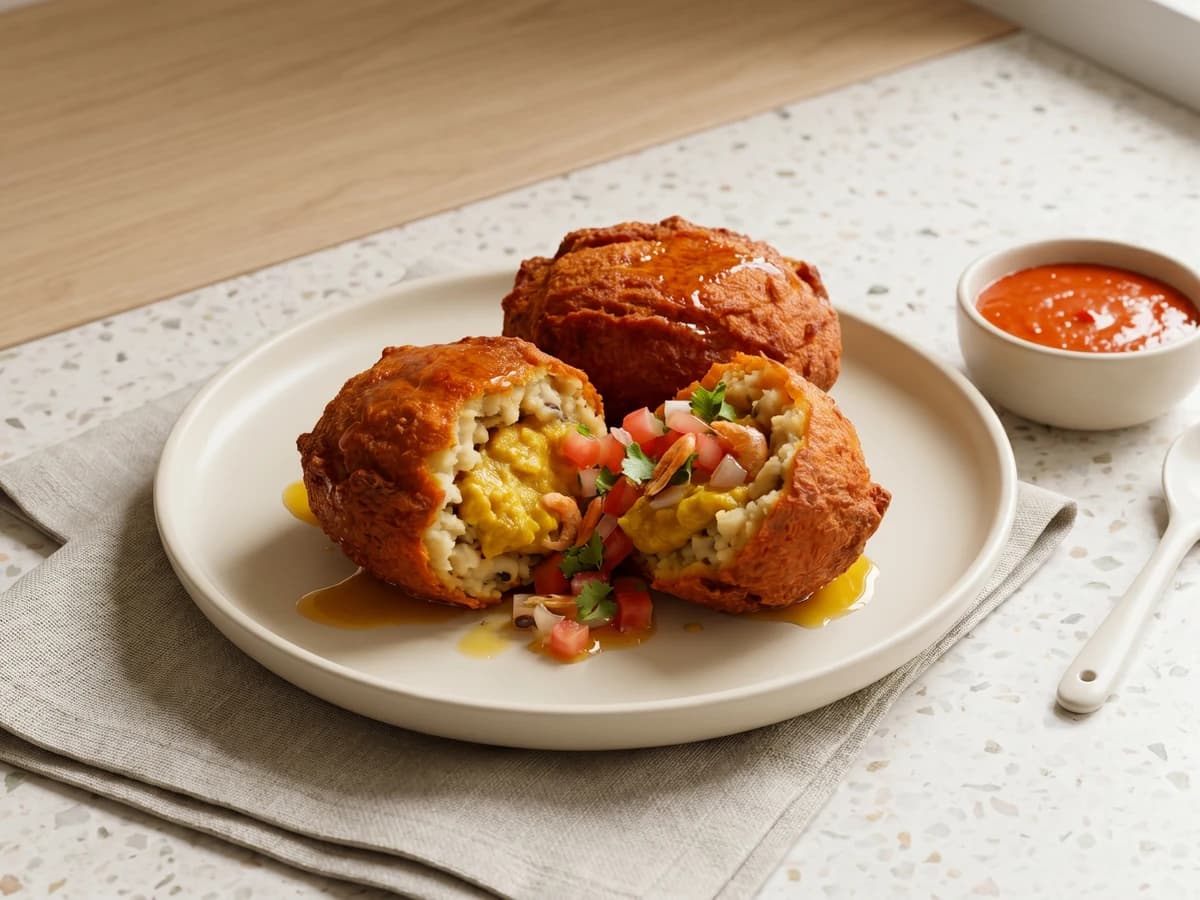
Abará
You think banana leaves and hand-whipped bean massa mean “isso não é pra mim.” Wrong. Soak, peel, beat, wrap, steam. Abará is learned by touch, not inherited by magic.
A cooking platform built around craft, culture, and the stories behind what we eat.

Created by
If the bakery case made you think empada is not for you, good. A gente will fix that with tender dough, creamy palmito, and a refogado that does real work.
You hear 'make empada dough' and the quiet voice says, 'isso não é pra mim.' I know that voice. Mine used to speak very confidently for someone who had ruined onions and once wrote down how to boil an egg in a school notebook. Cozinhar não é dom, é um aprendizado. Anota aí, because this one proves it.
Empada de palmito is a salgado, yes, but it belongs to the same kitchen logic as the pê-efe. Rice, beans, something green, the main thing beside them: the everyday plate teaches a gente that Brazil keeps itself in repeated, ordinary food, not in a speech. This little pie carries that too. Dough made by hand, filling built on refogado, palmito treated like dinner, not like the vegetarian apology in the corner.
The method is plain. Keep the butter cold so the crust bakes tender. Cook onion and garlic until they soften and smell sweet, because flavor starts there. Let the palmito lose its extra liquid before the milk goes in, or your filling will water the dough from inside. Then thicken it until the spoon leaves a clean trail, and cool it before you fill. That's not mystery. That's cause and effect.
No packet of sauce. No powder pretending to be cream. A Tuesday shortcut? Use jarred palmito, that's the ingredient and it's allowed. The cost is that you must drain it and season it like you mean it. Do that, and you'll have empadas that crack at the edge, hold a creamy center, and make the meat question look silly.
The small hand-held empada in Brazil descends from Portuguese savory pies, the same family that gave Brazil empadão, and by the nineteenth and twentieth centuries it had settled into bakeries, bars, and party tables as a salgado. Palmito filling became common as preserved hearts of palm moved through Brazilian markets, first drawn heavily from native juçara palms and later replaced more often by cultivated pupunha after conservation concerns grew. That matters at the market: pupunha is the better everyday choice because cutting juçara kills the palm, while cultivated peach palm was developed for repeated harvest.
Quantity
3 cups, plus more for dusting
Quantity
1 teaspoon
Quantity
12 tablespoons
cut into small cubes
Quantity
1 large
Quantity
3 to 5 tablespoons
Quantity
2 tablespoons
Quantity
1 medium
finely chopped
Quantity
3 cloves
minced
Quantity
1 medium
seeded and finely chopped
Quantity
2 cups (about one 500 g jar)
cut into small rounds or half-moons
Quantity
2 tablespoons
chopped
Quantity
1 tablespoon
Quantity
3 tablespoons
Quantity
1 cup
at room temperature
Quantity
1/2 teaspoon, plus more to taste
Quantity
1/4 teaspoon
Quantity
2 tablespoons
chopped
Quantity
1 egg yolk mixed with 1 teaspoon water
for brushing
| Ingredient | Quantity |
|---|---|
| all-purpose flour, for the dough | 3 cups, plus more for dusting |
| fine salt, for the dough | 1 teaspoon |
| cold unsalted buttercut into small cubes | 12 tablespoons |
| egg | 1 large |
| ice water | 3 to 5 tablespoons |
| olive oil or neutral oil | 2 tablespoons |
| onionfinely chopped | 1 medium |
| garlicminced | 3 cloves |
| ripe tomatoseeded and finely chopped | 1 medium |
| drained hearts of palm (palmito)cut into small rounds or half-moons | 2 cups (about one 500 g jar) |
| green olives (optional)chopped | 2 tablespoons |
| unsalted butter, for the filling | 1 tablespoon |
| all-purpose flour, for thickening | 3 tablespoons |
| whole milkat room temperature | 1 cup |
| fine salt, for the filling | 1/2 teaspoon, plus more to taste |
| black pepper | 1/4 teaspoon |
| parsleychopped | 2 tablespoons |
| egg yolk washfor brushing | 1 egg yolk mixed with 1 teaspoon water |
Put the 3 cups flour and 1 teaspoon salt in a large bowl. Add the cold butter and pinch it into the flour with your fingertips until it looks like coarse sand with a few pea-size pieces. Add the egg and 3 tablespoons ice water, then squeeze the dough in your hand. If it holds together, stop. If it crumbles dry, add more ice water 1 tablespoon at a time. The less you work it, the more tender the crust stays.
Shape the dough into two disks, one large disk with about two thirds of the dough and one small disk with the rest. Cover and chill for 30 minutes. This rest firms the butter and relaxes the flour, so the shells hold their shape instead of shrinking like they heard bad news.
Warm the oil in a wide skillet over medium heat. Add the onion and cook, stirring now and then, until it murchar, soft and see-through, about 5 minutes. Add the garlic and cook for 1 minute, just until you can smell it. This is where the filling starts tasting like food, so don't rush it. Burnt garlic is bitter, and it does not forgive.
Add the tomato and cook until it collapses, deepens in color, and the pan looks glossy, 3 to 4 minutes. Stir in the chopped palmito and olives, if using, and cook for another 3 to 4 minutes, until there is no watery puddle at the bottom of the pan. Palmito brings jar liquid with it. If you trap that liquid inside pastry, the bottom goes soggy and you blame the recipe. We are not doing that.
Add the 1 tablespoon butter to the skillet. When it melts, sprinkle in the 3 tablespoons flour and stir for 1 minute, until no dry flour shows. Pour in the milk slowly, stirring the whole time, then cook until the filling bubbles gently and the spoon leaves a clean trail across the pan, 3 to 5 minutes. That's your white sauce, made right in the refogado. Take it off the heat, stir in parsley, taste for salt and pepper, and cool completely before filling the dough.
Heat the oven to 190°C (375°F). Lightly butter 12 small empada tins if they are not nonstick. Pull pieces from the large dough disk, about 2 tablespoons each, and press one into each tin with your thumbs, from the center up the sides, until the dough is about 3 mm thick. Keep it even. A thick bottom stays pasty, and a thin wall cracks when you fill it.
Spoon about 1 heaping tablespoon of cold filling into each shell, stopping just below the rim. Roll the smaller dough disk on a lightly floured counter and cut lids a little wider than the tins. Lay a lid over each empada, press the edges to seal, trim any extra, and prick the top once with a fork. Overfilled empada bursts. Sealed empada with no little opening cracks wherever it wants.
Brush the tops with the egg yolk wash. Set the tins on a baking sheet and bake for 28 to 35 minutes, until the tops are deep gold, the edges are browned, and the pastry loosens from the tins when nudged. Color is flavor here. Pale pastry tastes like flour waiting for permission.
Let the empadas rest in the tins for 10 minutes, then loosen the edges with a small knife and lift them out. The filling sets as it sits, so give it those minutes. Rush now and the creamy middle spills out like it was never taught manners.
Serve warm or at room temperature. For a picnic, let them cool fully before packing so the crust stays tender instead of turning damp. They should feel sturdy in the hand, with a crumbly edge and a creamy palmito center that holds together when bitten.
1 serving (about 105g)
Culinary guides, cultural storytelling, and the editorial depth that makes cooking meaningful.
Discover Culinary ExplorerChef Juliana
You think banana leaves and hand-whipped bean massa mean “isso não é pra mim.” Wrong. Soak, peel, beat, wrap, steam. Abará is learned by touch, not inherited by magic.
Chef Juliana
You think food of Iansã from the baianas' tabuleiro is not for your stove. Anota aí: soaked feijão-fradinho, real dendê, and hand-whipping make a home version learnable.

Chef Juliana
You think fried salgados belong to the birthday table you buy, not the one you make. Wrong. Learn the dough, seal the cheese, and the freezer starts working for you.

Chef Juliana
You think stuffed fried bolinhos are for the boteco cook, not your kitchen. Wrong. Mash the aipim warm, keep the filling dry, fry in small batches, and the tray disappears.