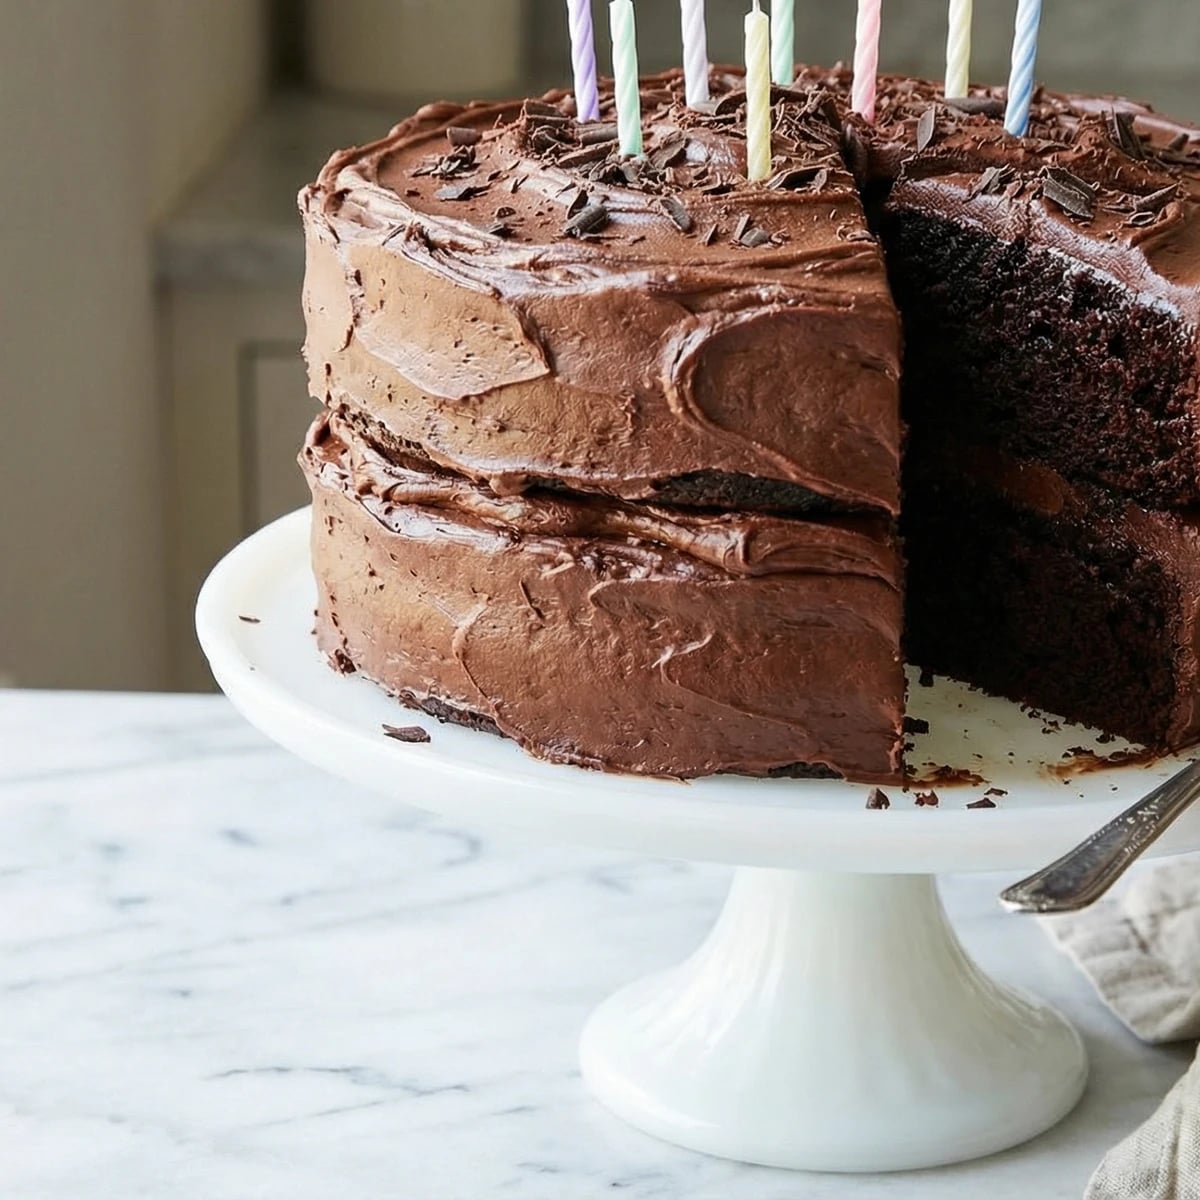
Two towering layers of the darkest, most intensely chocolate cake you've ever baked, swathed in a fudgy frosting that sets just enough to slice cleanly while staying soft against your fork.
Desserts
American
Birthday
Celebration
30 min
Active Time
35 min cook•2 hr 30 min total
Yield12 servings (one 9-inch layer cake)
Devil's food cake earned its name in the early 1900s as the dark counterpart to angel food. Where angel food is ethereal and white, devil's food is rich, almost black, and unapologetically indulgent. The Victorians had a sense of humor about their baking.
The secret to devil's food cake lives in three places: the quality of your cocoa, the temperature of your liquids, and your willingness to trust the batter. You'll pour boiling water directly into Dutch-process cocoa, blooming its flavor the way you'd bloom spices in hot oil. The result is a chocolate intensity you simply cannot achieve with melted chocolate bars. The crumb stays tender because buttermilk and oil keep things moist in ways butter alone cannot.
I've watched students panic when they see how thin this batter runs. Trust it. The lightness comes from that loose texture, those air bubbles that form as the leavening activates. Your reward is cake so tender it barely holds together when warm, so moist it stays fresh for days, so chocolate-forward that frosting becomes almost optional. Almost.
The technique, the tradition, and the story behind every dish.
Position a rack in the center of your oven and preheat to 350°F. Grease two 9-inch round cake pans with butter or nonstick spray, then line the bottoms with parchment paper cut to fit. Grease the parchment too. Dust the pans with cocoa powder, tapping out the excess. Cocoa instead of flour prevents white residue on your dark layers.
Cut parchment rounds in advance and store them flat. When you're ready to bake, you won't waste time tracing and cutting.
2
Combine dry ingredients
In a large mixing bowl, whisk together the flour, sugar, cocoa powder, baking soda, baking powder, and salt. Whisk vigorously for thirty seconds. This serves the same purpose as sifting but requires less equipment. You want no cocoa lumps and no pockets of baking soda waiting to create bitter spots in your cake.
3
Add wet ingredients
Add the buttermilk, vegetable oil, eggs, and vanilla to the dry ingredients. Beat with an electric mixer on medium speed for two minutes, scraping down the sides once. The batter will be thick and glossy, almost like brownie batter at this stage.
4
Bloom with hot liquid
Brew strong coffee or bring water to a rolling boil. With the mixer on low speed, carefully pour the hot liquid into the batter in a steady stream. The batter will become remarkably thin, almost like chocolate milk. This is exactly right. The hot liquid blooms the cocoa, extracting flavor compounds that cold liquid cannot reach.
Coffee deepens chocolate flavor without making the cake taste like coffee. If you're sensitive to caffeine or serving children, boiling water works beautifully.
5
Fill the pans
Divide the batter evenly between your prepared pans. The batter is thin enough to self-level, but a gentle tap on the counter dislodges any large air bubbles. Each pan should be about half full. The cake will rise considerably.
6
Bake until set
Bake for 30 to 35 minutes, rotating the pans halfway through if your oven heats unevenly. The cakes are done when a toothpick inserted into the center comes out with a few moist crumbs clinging to it, not wet batter. The surface will spring back when gently pressed and the edges will just begin pulling away from the sides of the pan.
Don't open the oven door for the first twenty minutes. The cakes are fragile while the structure sets, and temperature fluctuations can cause sinking.
7
Cool completely
Let the cakes cool in their pans on a wire rack for fifteen minutes. The structure needs time to set or the layers will break when you turn them out. Run a thin knife around the edges, then invert onto the rack and peel away the parchment. Cool completely, at least one hour, before frosting. Warm cake melts frosting into a sad, sliding mess.
8
Make the frosting base
Beat the softened butter in a large bowl with an electric mixer on medium-high speed until pale and creamy, about three minutes. The color will lighten from yellow to nearly white. This incorporates air and ensures smooth frosting.
9
Build the frosting
Sift the powdered sugar and cocoa powder together directly into the butter. Start your mixer on the lowest speed or you'll send a chocolate cloud across your kitchen. Once incorporated, add the cream, vanilla, and salt. Increase speed to medium-high and beat for two to three minutes until fluffy and spreadable. Taste for salt and sweetness, adjusting if needed.
If the frosting seems stiff, add cream one tablespoon at a time. If too loose, add more sifted powdered sugar. The consistency should spread easily but hold its shape.
10
Level the layers
If your cake layers domed during baking, use a long serrated knife to trim the tops level. Place one layer cut-side down on your serving plate or cake stand. Slide strips of parchment paper under the edges to catch frosting drips and keep your plate clean.
11
Frost between layers
Spread about one cup of frosting over the first layer in an even coat, extending just to the edges. The goal is a layer thick enough to taste but not so thick it squishes out when you add the top. Place the second layer on top, cut-side down so the flat bottom faces up.
12
Apply crumb coat
Spread a thin layer of frosting over the top and sides of the entire cake, sealing in any crumbs. This is your crumb coat. It doesn't need to be beautiful. Refrigerate for twenty minutes until the frosting is firm to the touch.
13
Finish frosting
Apply the remaining frosting generously over the top and sides, using an offset spatula or the back of a spoon to create swirls. Work from the top down, adding more frosting to thin spots. Remove the parchment strips gently once you've finished. The cake is ready to serve immediately or can wait at room temperature for several hours.
For cleaner slices, dip your knife in hot water and wipe it clean between cuts. The warm blade glides through frosting without dragging.
Chef Tips
•Dutch-process cocoa is alkalized, meaning it has a neutral pH and produces a darker, mellower chocolate flavor. Natural cocoa is more acidic and assertive. Both work here, but Dutch-process gives that classic devil's food darkness.
•Room temperature ingredients matter more in cake baking than almost anywhere else. Cold eggs and buttermilk can cause the batter to curdle and the crumb to toughen. Set them out an hour before you begin.
•This cake stays remarkably moist because of the oil and buttermilk. Store it at room temperature under a cake dome for up to four days. Refrigeration dries out cake and dulls chocolate flavor.
•For a more dramatic presentation, make a third layer. Simply multiply the cake recipe by 1.5 and divide among three pans, reducing baking time by about five minutes.
Advance Preparation
•Cake layers can be baked up to two days ahead. Wrap tightly in plastic and store at room temperature. They actually become easier to frost when slightly stale.
•Frosted cake keeps at room temperature for up to three days. Cover loosely with a cake dome or inverted bowl to prevent drying.
•Unfrosted layers freeze beautifully for up to three months. Wrap each layer individually in plastic, then foil. Thaw at room temperature while still wrapped to prevent condensation on the surface.
•The frosting can be made up to one week ahead and refrigerated. Bring to room temperature and beat briefly to restore fluffy texture before using.
Frequently Asked Questions
Nutrition Information
1 serving (about 77g)
Calories
855 calories
Total Fat
31 g
Saturated Fat
14 g
Trans Fat
0 g
Unsaturated Fat
17 g
Cholesterol
180 mg
Sodium
330 mg
Total Carbohydrates
94 g
Dietary Fiber
5 g
Sugars
75 g
Protein
6 g
Where cooking meets culture.
Culinary guides, cultural storytelling, and the editorial depth that makes cooking meaningful.