
Chef Ally
Apricot Flaugnarde
A golden custard that puffs and billows around halved summer apricots, then settles into something tender and barely sweet, the kind of dessert that reminds you fruit is the point.
A cooking platform built around craft, culture, and the stories behind what we eat.

Created by
Silky ganache centers cloaked in bitter cocoa, toasted nuts, or a thin shell of tempered chocolate. These are the confections you make when you want to prove that homemade gifts carry more love than anything wrapped in gold foil from a department store.
The chocolate truffle takes its name from the wrinkled black fungus that French pigs root from the earth. Both are dark, lumpy, intensely flavored, and worth far more than their humble appearance suggests. The resemblance ends there. What you'll make in your kitchen is pure luxury: rich ganache that melts the moment it touches your tongue.
Ganache is nothing more than chocolate and cream, united through heat and patience into something greater than either ingredient alone. The technique is forgiving once you understand it. Chop your chocolate fine. Heat your cream just to a simmer. Wait before stirring. These small disciplines separate velvety truffles from grainy disappointments.
I've taught this recipe to hundreds of students convinced that candy-making required specialized equipment and years of training. It doesn't. A saucepan, a bowl, a spatula, and your own two hands. That's the whole inventory. The truffles you'll produce will embarrass anything sold in boutique chocolate shops at ten dollars per piece.
Quantity
12 ounces (340g)
finely chopped
Quantity
1 cup (240ml)
Quantity
2 tablespoons
at room temperature
Quantity
1 teaspoon
Quantity
pinch
Quantity
1/2 cup
for rolling
Quantity
1 cup
finely chopped (hazelnuts, almonds, or pistachios)
Quantity
8 ounces (225g)
for dipping
| Ingredient | Quantity |
|---|---|
| high-quality semi-sweet or bittersweet chocolatefinely chopped | 12 ounces (340g) |
| heavy whipping cream | 1 cup (240ml) |
| unsalted butterat room temperature | 2 tablespoons |
| pure vanilla extract | 1 teaspoon |
| fine sea salt | pinch |
| Dutch-process cocoa powderfor rolling | 1/2 cup |
| toasted nuts (optional)finely chopped (hazelnuts, almonds, or pistachios) | 1 cup |
| tempered chocolate (optional)for dipping | 8 ounces (225g) |
Place your finely chopped chocolate in a large heatproof bowl. The fineness matters here. Rough chunks won't melt evenly, and you'll chase stubborn lumps through your ganache. Use a serrated knife on a cutting board and reduce that chocolate to pieces no larger than chocolate chips. Scrape every fragment into the bowl.
Pour the heavy cream into a small saucepan and set it over medium heat. Watch it carefully. You want the cream just at a simmer, when small bubbles form around the edges and wisps of steam rise from the surface. This takes three to four minutes. Do not let it boil. Boiled cream loses moisture and can scorch, both of which ruin the ganache ratio.
Pour the hot cream directly over the chopped chocolate. Do not stir yet. Let the cream sit undisturbed for two full minutes. This resting period allows the heat to penetrate and begin melting the chocolate from within. Patience here prevents a grainy, broken ganache.
Starting from the center of the bowl, stir with a rubber spatula in small, slow circles. You're coaxing an emulsion into existence, not beating air into a batter. Gradually widen your circles as the chocolate melts and incorporates. The mixture will look broken and ugly at first. Keep stirring. After two to three minutes of patient work, it will suddenly come together into a glossy, uniform ganache the color of mahogany.
Once the ganache is smooth and shiny, add the room-temperature butter, vanilla extract, and salt. Stir until the butter melts completely and disappears into the chocolate. The butter adds silkiness and a subtle richness. The salt amplifies every chocolate note without announcing itself.
Press plastic wrap directly onto the surface of the ganache, eliminating any air pockets. Refrigerate until firm enough to scoop, at least two hours or up to three days. The ganache should hold its shape when pressed with a finger but yield slightly. Too soft and it won't roll. Too hard and you'll be chipping at it with a spoon.
Line a baking sheet with parchment paper. Using a melon baller or small cookie scoop, portion the ganache into roughly one-inch balls. Work quickly. Your hands will warm the chocolate. If the ganache becomes too soft, return it to the refrigerator for fifteen minutes. Don't worry about perfection at this stage. Irregular shapes are traditional.
Once all portions are scooped, roll each between your palms to form rough spheres. Brief contact is key. Five seconds maximum. The friction and warmth smooth the surface without melting the centers. Place rolled truffles back on the parchment. If your hands become too warm, rinse them under cold water and dry thoroughly before continuing.
Pour the cocoa powder into a shallow bowl. Working with four or five truffles at a time, drop them into the cocoa and swirl the bowl gently until they're coated on all sides. Use a fork to lift them out and tap off excess. The cocoa coating should be thin and even, like a dusting of first snow.
For nut-coated truffles, spread your finely chopped toasted nuts in a shallow dish. Roll freshly shaped truffles through the nuts, pressing gently so the pieces adhere to the soft surface. Hazelnuts are traditional with chocolate, but toasted almonds or pistachios bring their own charm.
For a professional shell, dip truffles in tempered chocolate. Using a dipping fork or regular dinner fork, lower each truffle into the chocolate, coat completely, tap off excess, and set on parchment to harden. This creates a thin, snappy shell that protects the soft ganache and extends shelf life.
Arrange finished truffles in a single layer in an airtight container, separating layers with parchment paper. Refrigerate for up to two weeks. Bring to room temperature for twenty minutes before serving. Cold truffles are firm and muted. Truffles at room temperature are soft, aromatic, and speak their full truth.
1 truffle (about 14g)
Culinary guides, cultural storytelling, and the editorial depth that makes cooking meaningful.
Discover Culinary ExplorerChef Ally
A golden custard that puffs and billows around halved summer apricots, then settles into something tender and barely sweet, the kind of dessert that reminds you fruit is the point.

Chef Ally
A custard of browned butter and dark sugar, baked until barely trembling and chilled until impossibly silky. The kind of dessert that makes a room go quiet, spoons scraping ramekins for every last bit.
Chef Ally
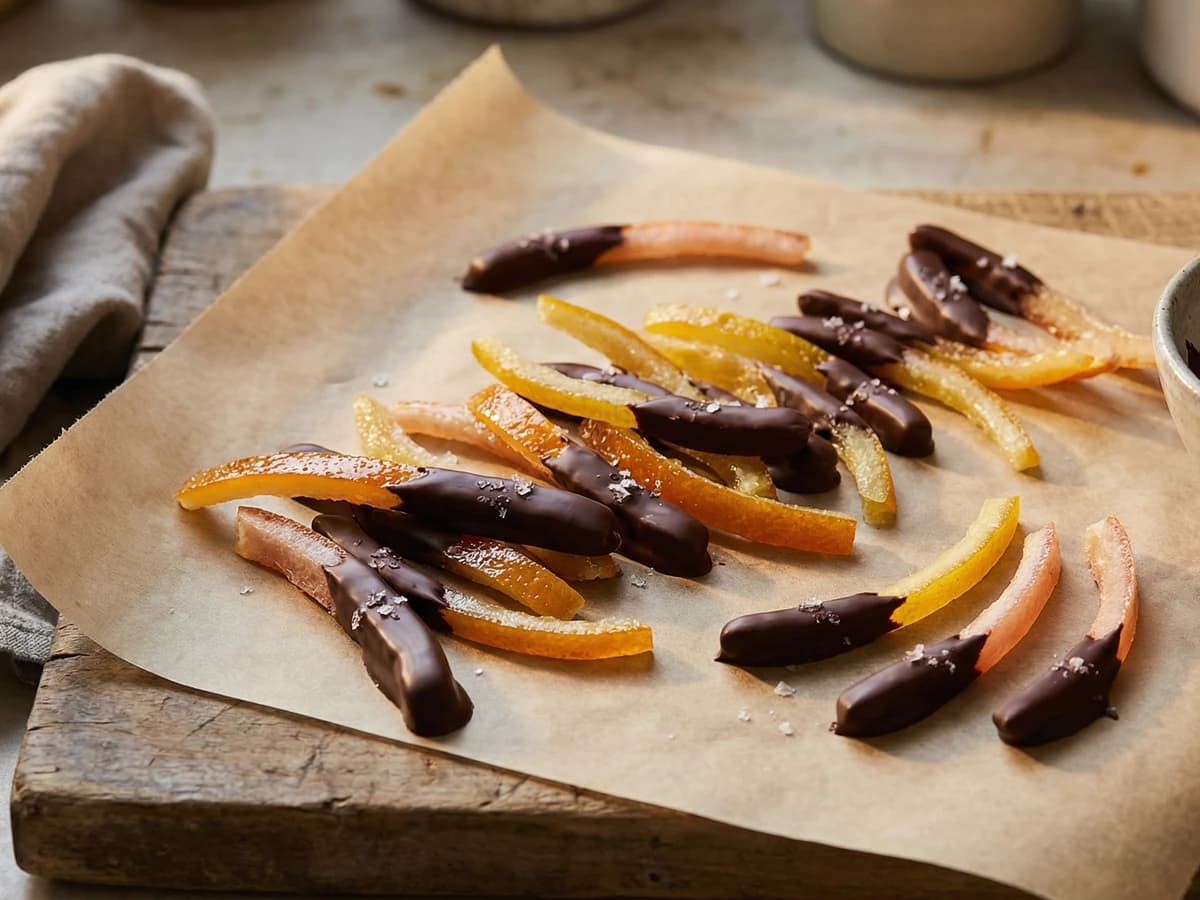
Winter citrus transformed into glistening confections, the bitter pith turned sweet through patience, then kissed with dark chocolate. A recipe that proves the best parts of the fruit are the ones most people throw away.

Chef Dean
Impossibly silky French chocolate custard that trembles on the spoon, deeply flavored and unapologetically rich, requiring nothing more than good chocolate, fresh cream, and a little patience to master.